Free 3-5 day delivery
on all orders
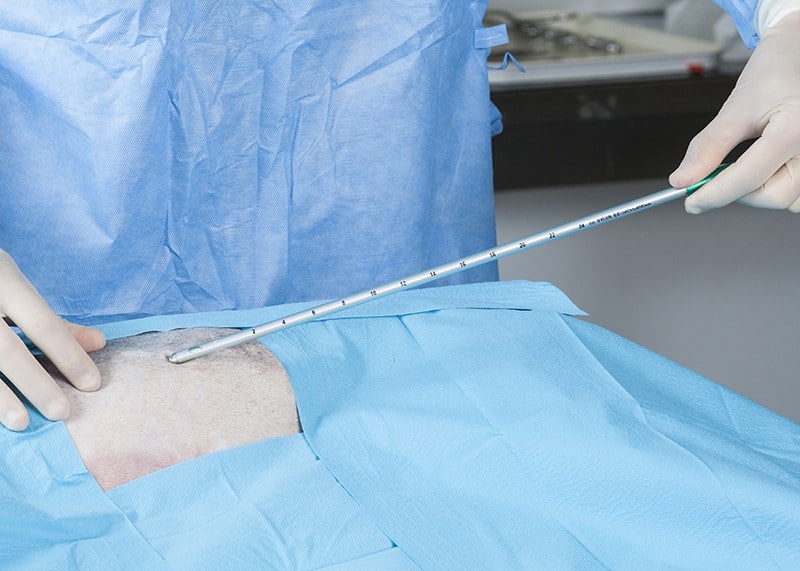
Placement of a chest drain using a closed technique. The patient is in lateral recumbency with the affected side uppermost. General anaesthesia is preferred although it can be done under sedation. The patient is clipped and prepped as per a surgical procedure.
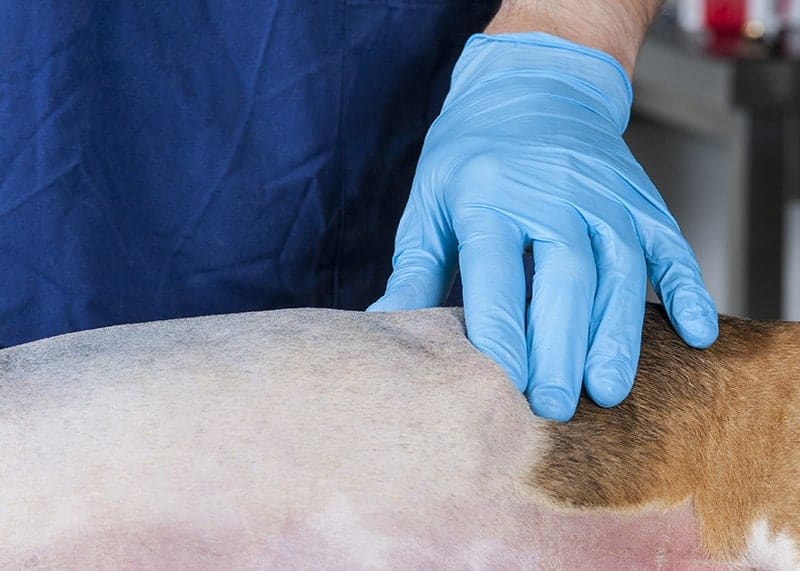
Count forward from the last rib to an appropriate rib space.
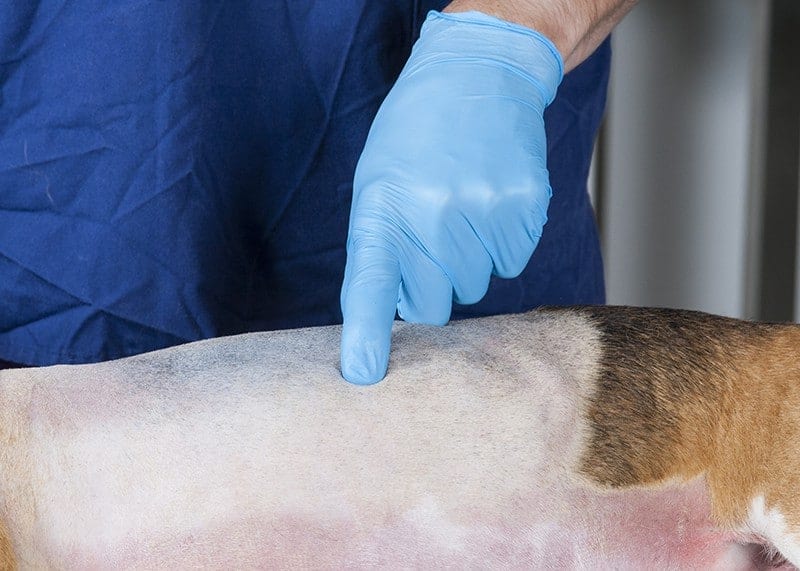
Typically the skin incision will be around the 10th intercostal space, allowing a sub-cutaneous tunnel to be placed of 2 intercostal spaces so that the drain will enter the 8th intercostal space.
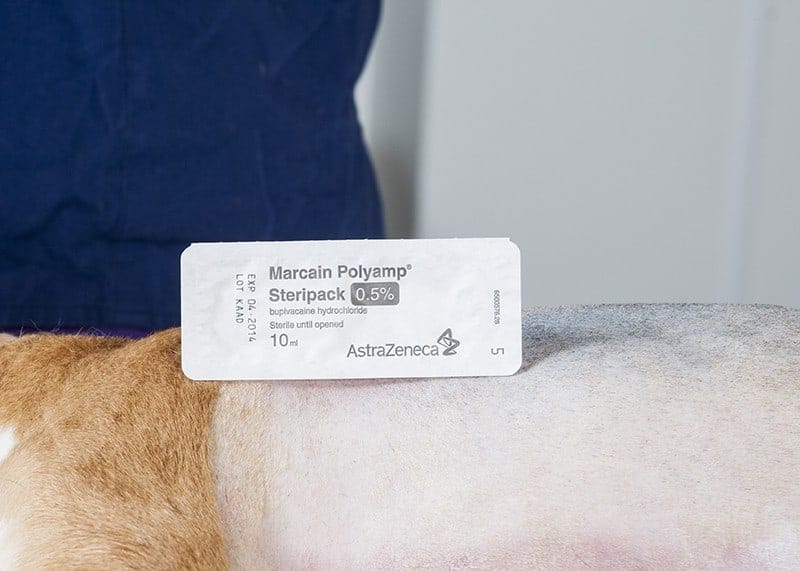
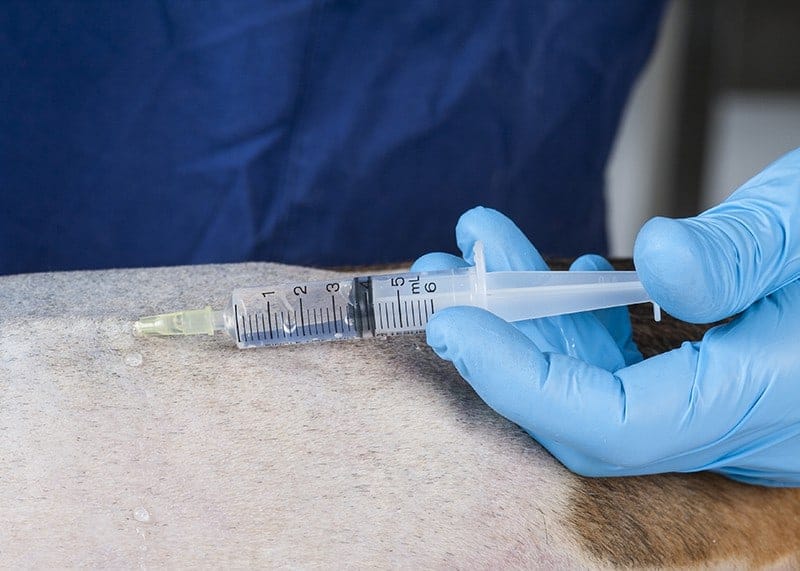
Local anaesthesia is recommended even for patients under general anaesthesia. (1-2mg/kg Bupivacaine).
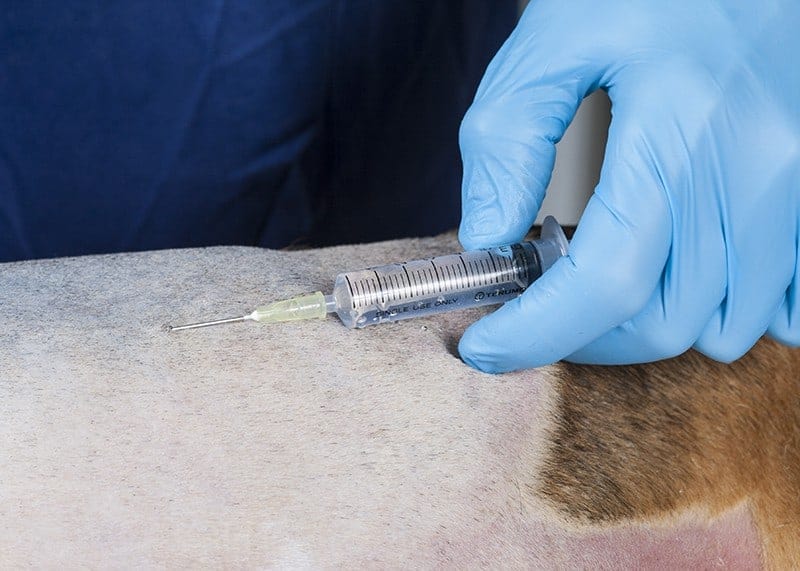
The local anaesthetic is injected at the point of the skin incision.
Through the sub-cutaneous tunnel.
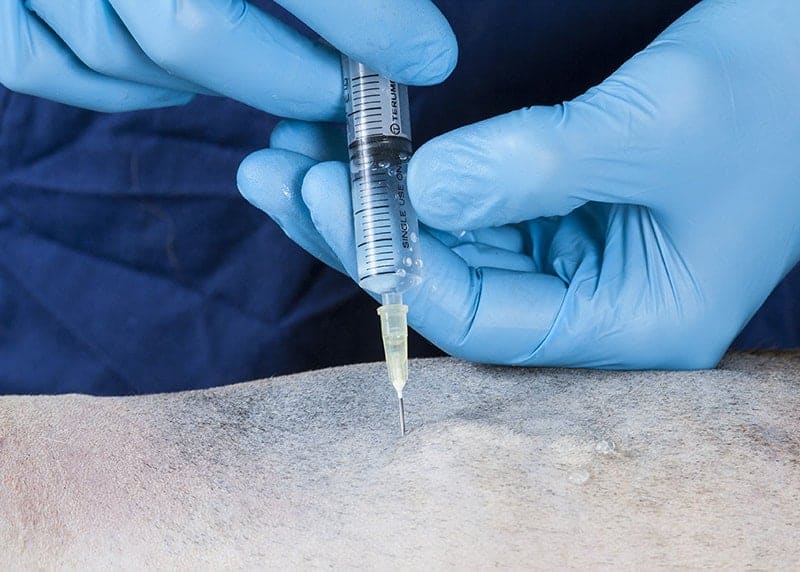
Finally down into the intercostal space where the drain will be inserted.
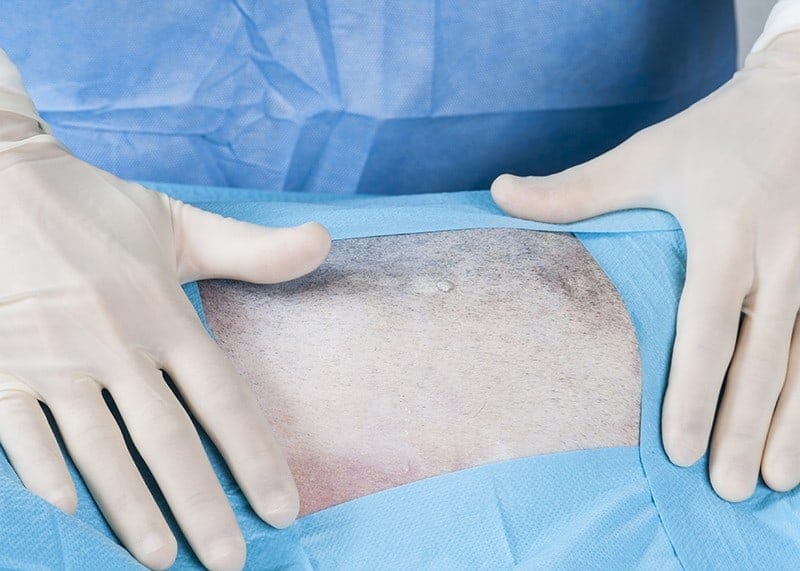
Patient is then draped.
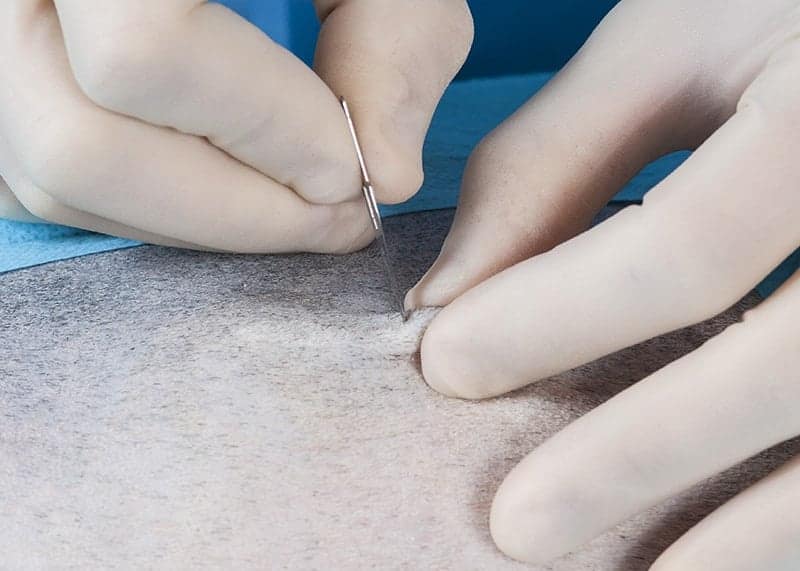
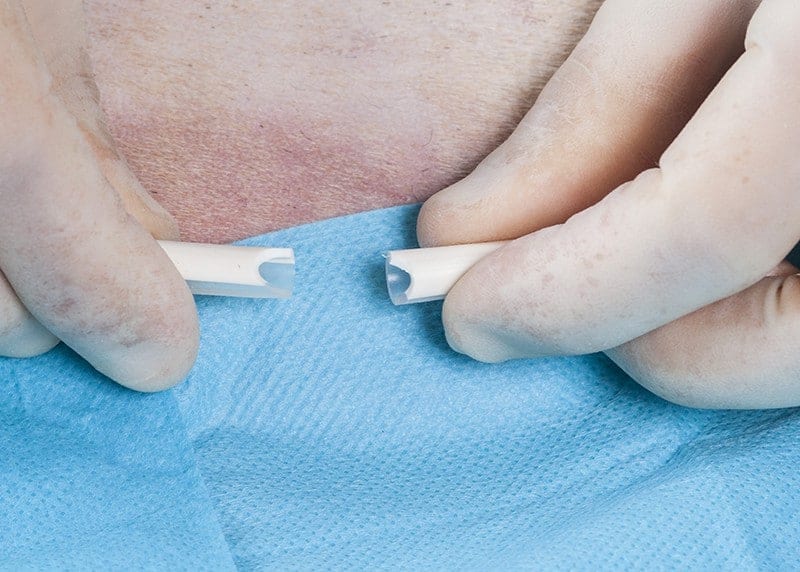
A stab incision is made in the skin approximating the diameter of the chest drain.
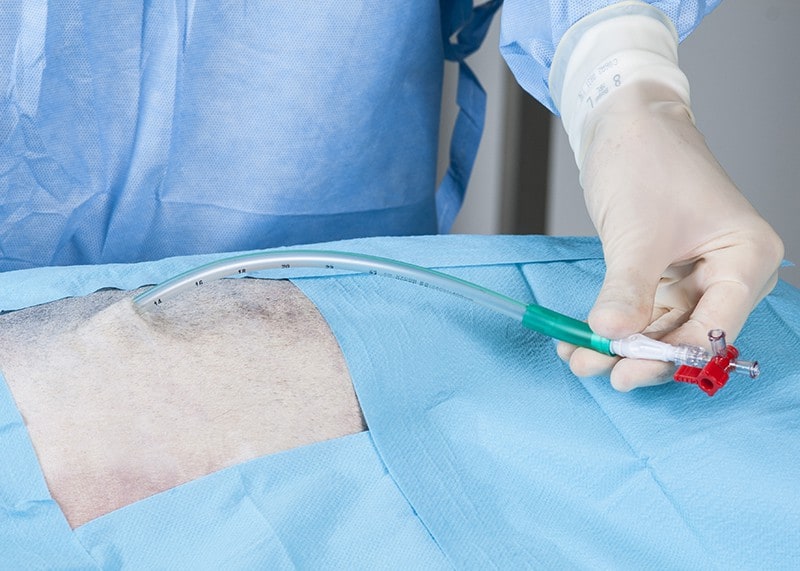
Chest drain ready to be placed. Typically 10FG for a small-sized dog, 12FG or 16FG for medium-sized dogs, and a 20FG for large-sized dogs. The dominant hand is holding the tip of the drain. The spike of the trocar always remains outside of the tip of the drain.
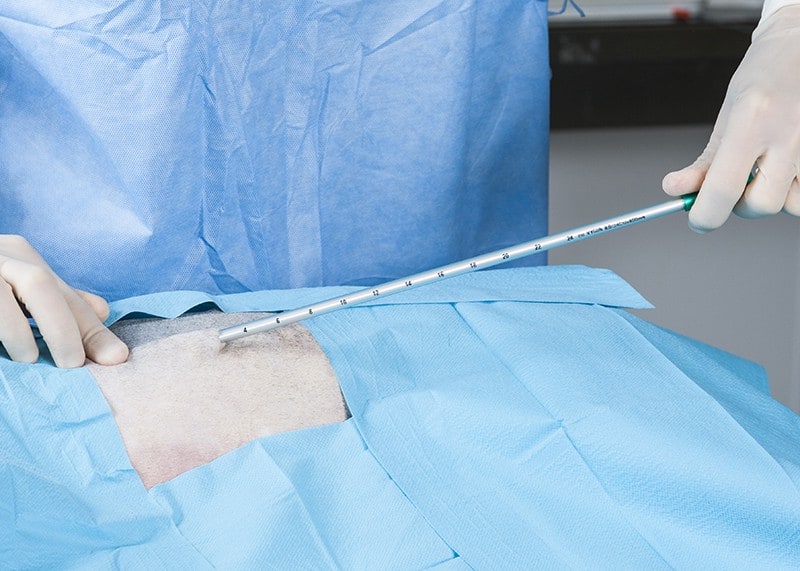
The drain is passed through the skin and along the subcutaneous tunnel to the selected intercostal space.
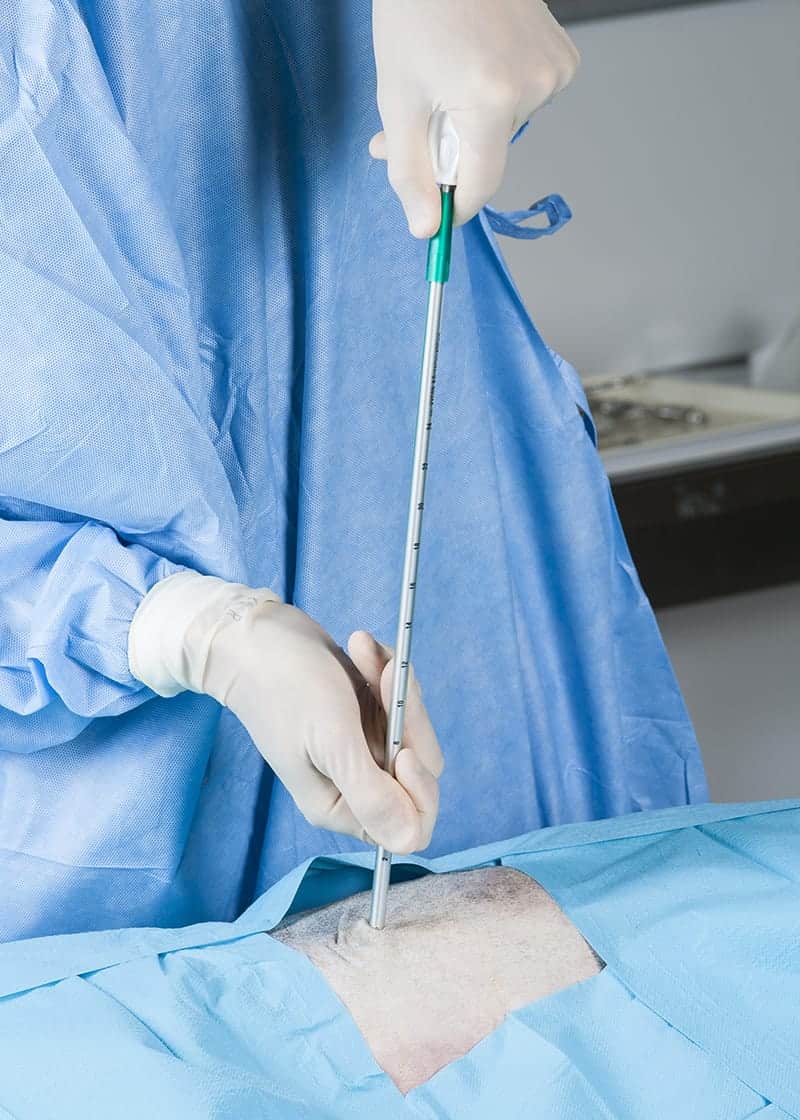
The drain is lifted vertically. The fingers of one hand hold the drain approximately 2cm from the tip, which is inserted with a controlled thrust in a confident and positive manner through the middle of the intercostal space.

Drain is inserted into the thoracic space.
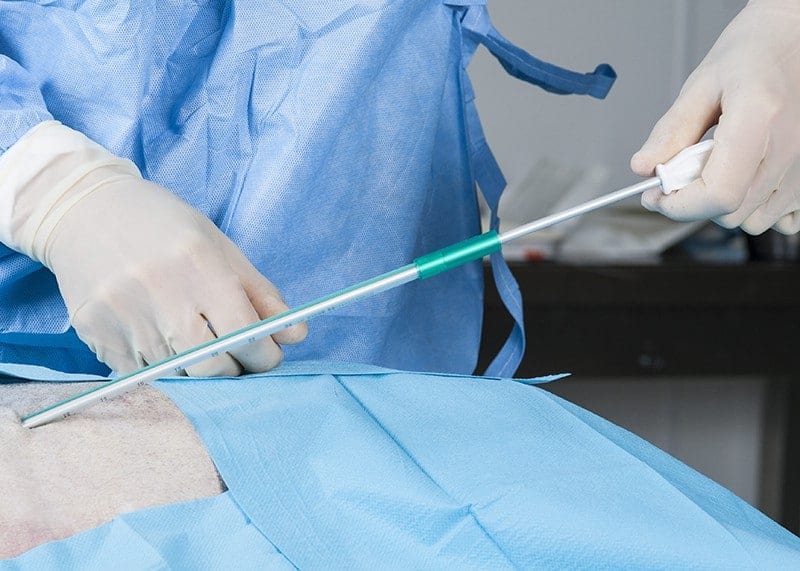
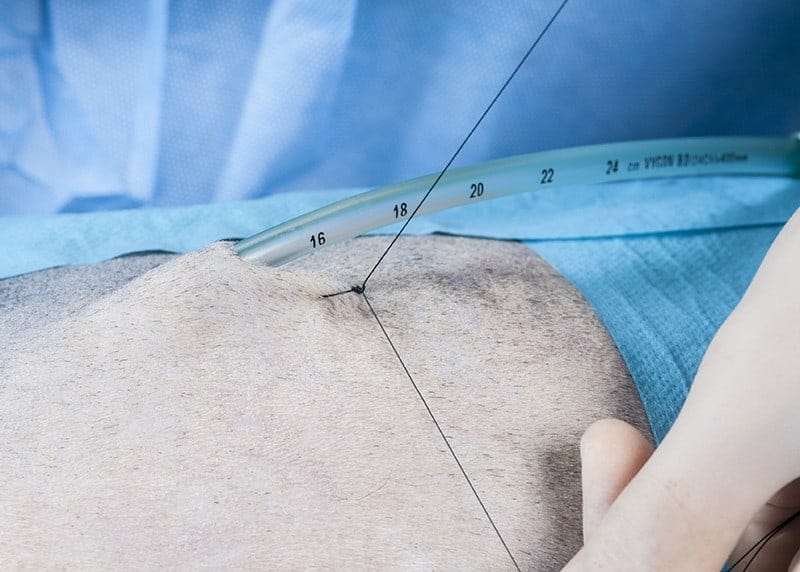
The trocar is removed and depth of insertion checked using the markers on the drain.
There must be enough drain within the pleural space to secure it and to ensure that a seal is achieved.
The drain can be clamped with atraumatic tubing clamps to create a seal and so avoid a pneumothorax.

It is very important not to use haemostats or needle holders for this purpose as they will damage the plastic drain potentially creating a leak.
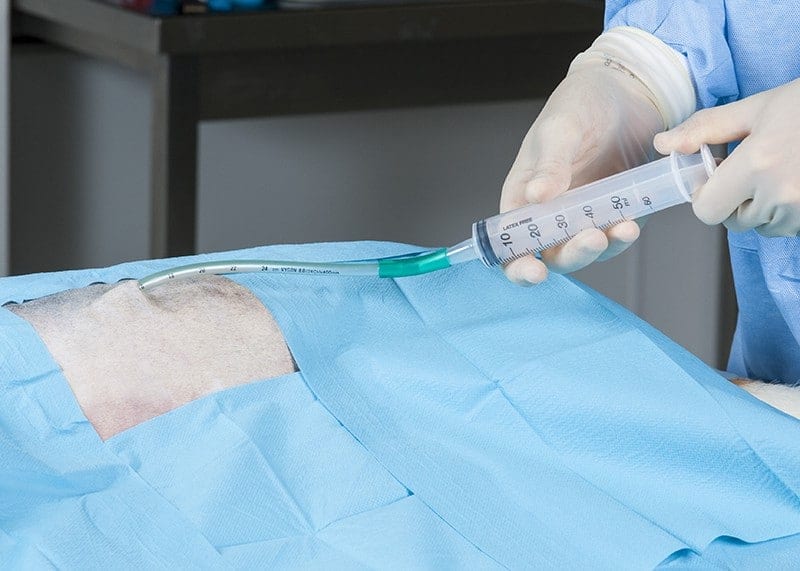
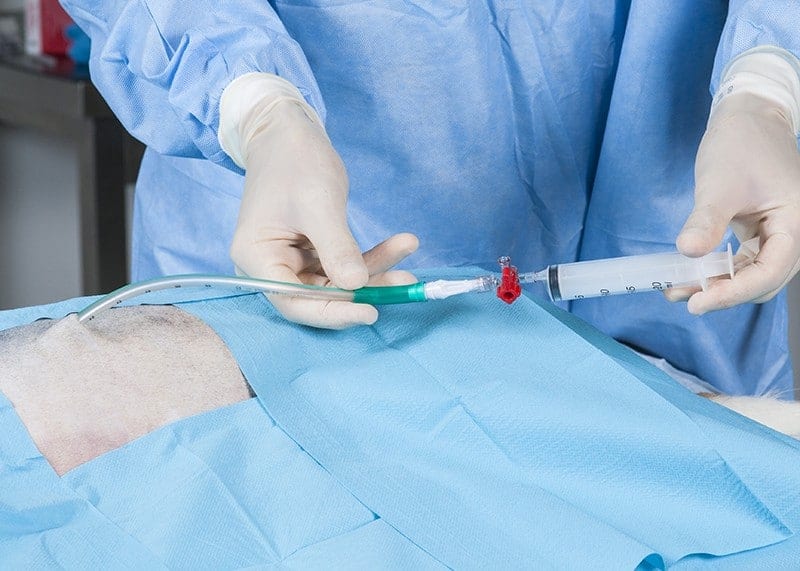
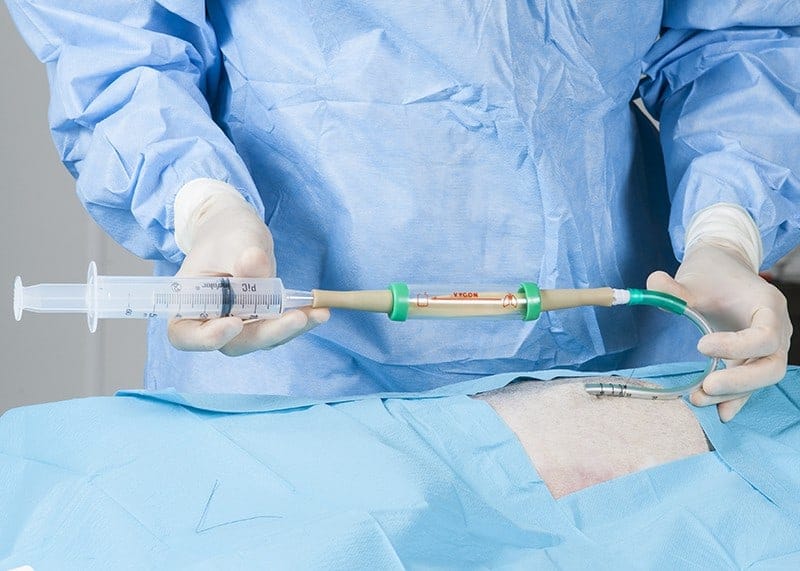
A syringe may also be attached as an alternative to clamping and aspiration (air or fluid) can be carried out to ensure drain placement is appropriate.
A standard universal tubing adaptor can be inserted into the drain connection.
A three-way tap can then be connected.
Plus a syringe to allow aspiration.
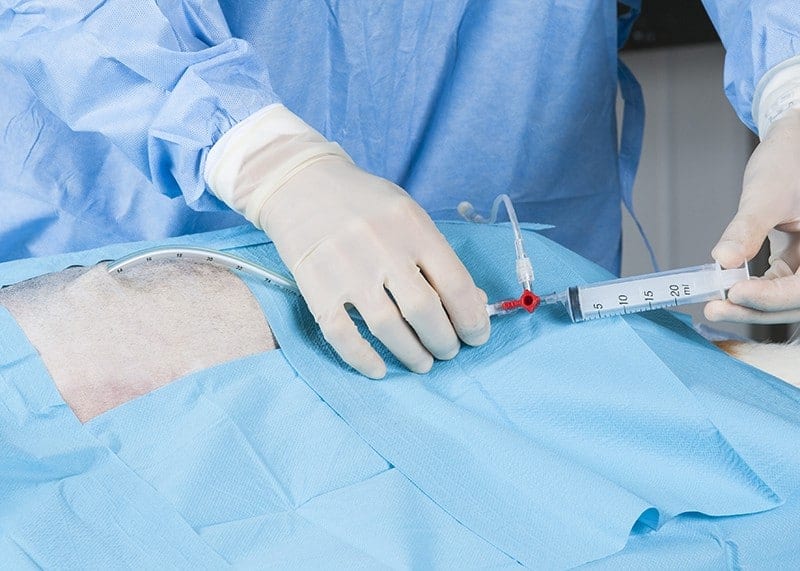
An extension tube or giving set can be connected to the sidearm of the 3-way tap to collect fluid cleanly and so prevent aerosol contamination.
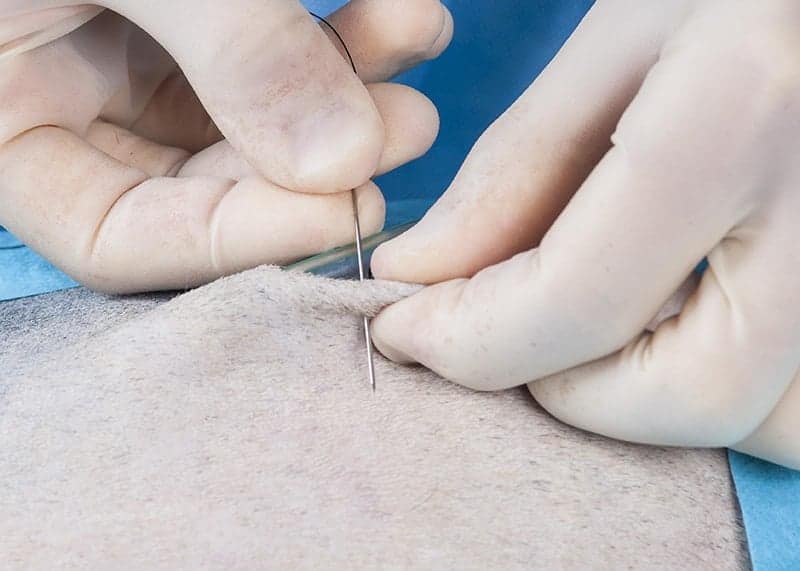
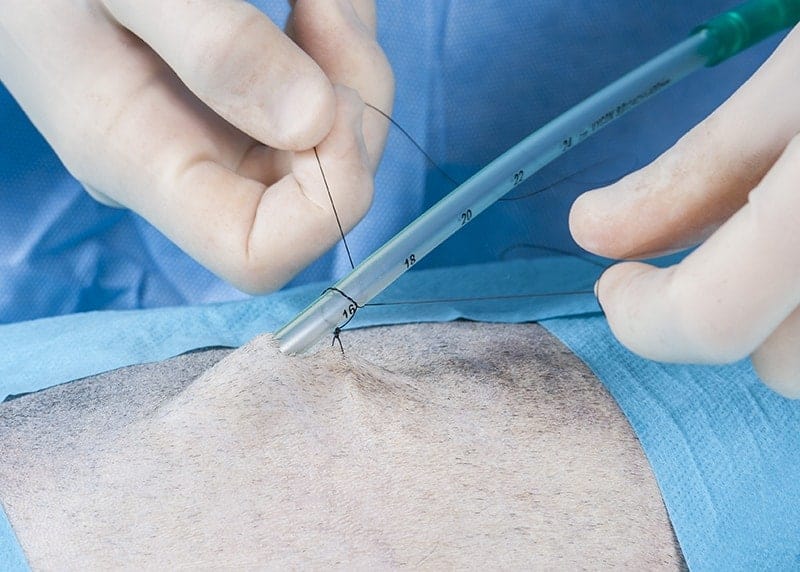
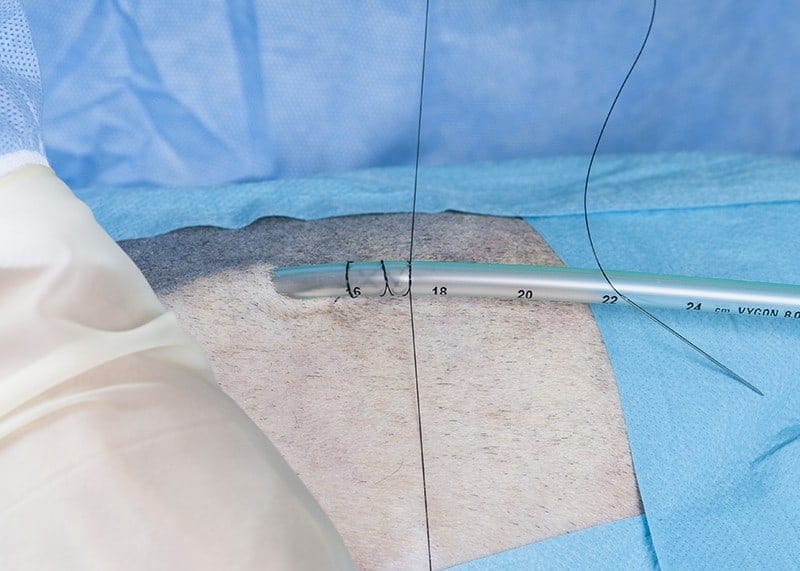
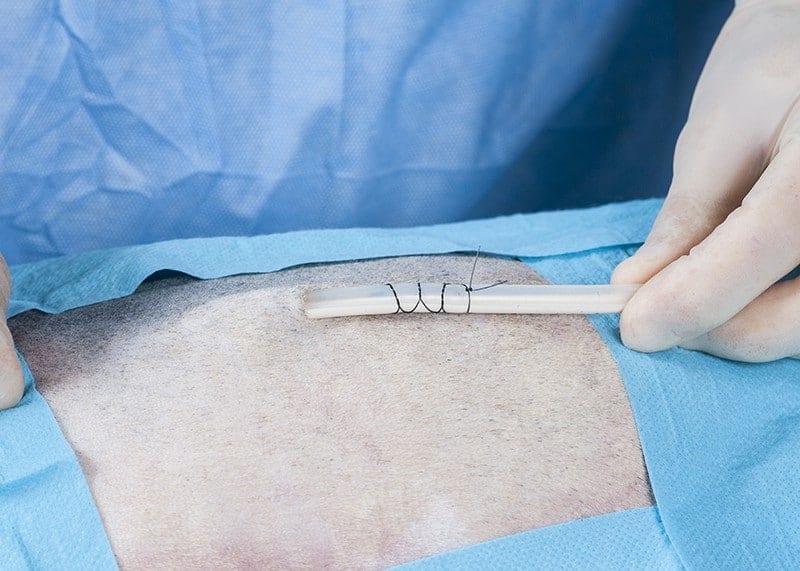
A Chinese finger trap or Roman Sandal suture is used to secure the drain. A straight needle swaged onto monofilament nylon or polypropylene is used.
A loose stitch is made through the skin and tied with a snug knot.
The nylon is wrapped around the drain with a double throw.
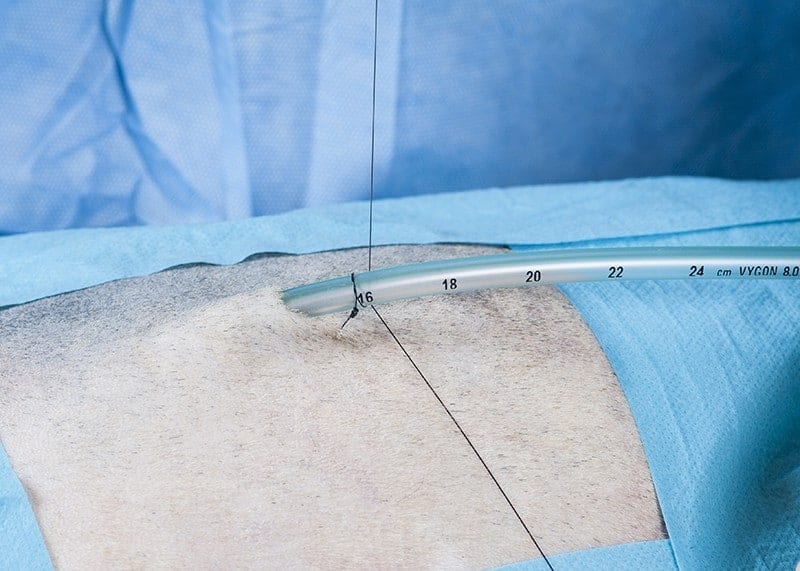
Passed around the drain and over the top.
Again with another double throw.
The third double throw.
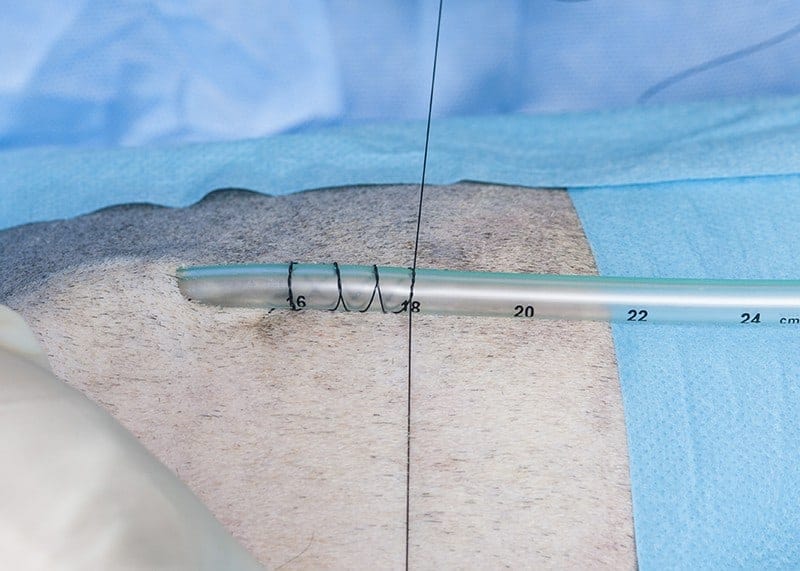
The fourth and final double throw.
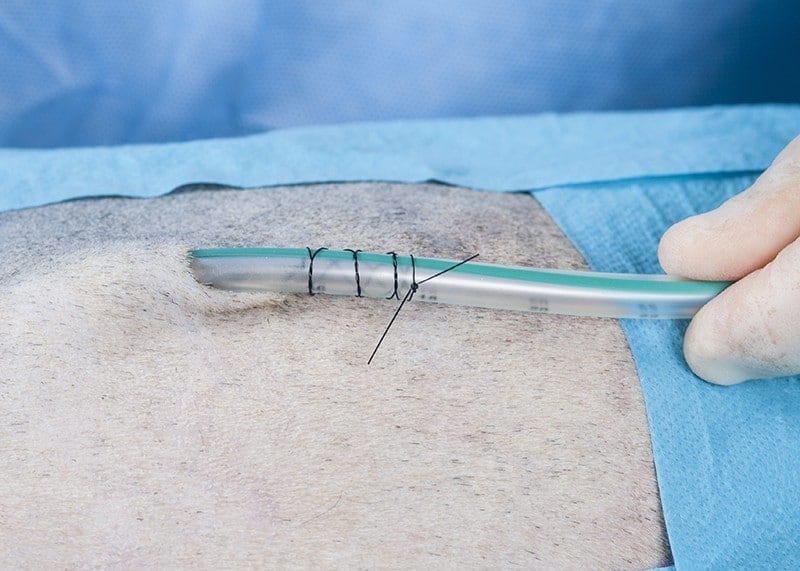
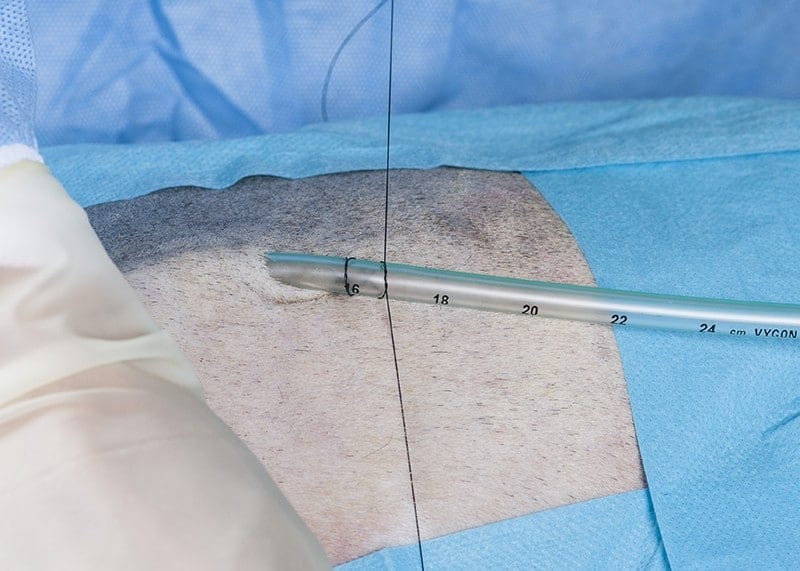
The suture is tied and and cut. The suture allows firm retention of the drain in place and traction on the drain tends to tighten the suture and prevent slipping.
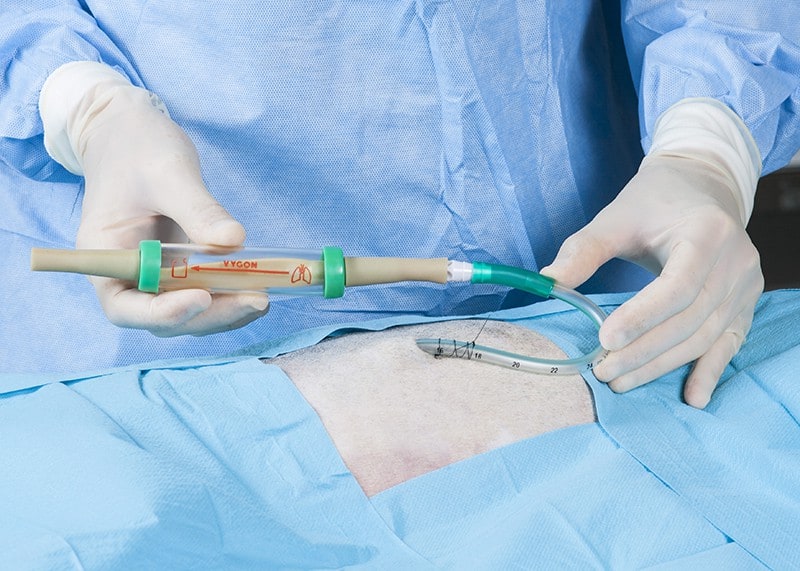
A standard adult-size Heimlich valve can be used. In theory the patient’s respiratory efforts will help to open the valve and allow the expulsion of fluids from the pleural space.
The drain usefully has an arrow on it which points away from the patient. The end of the Heimlich valve has a soft tubing section which connects to the catheter tip syringe.
A gate clamp can also be placed on the chest drain as an additional safety feature. These must be undone before emptying the drain.
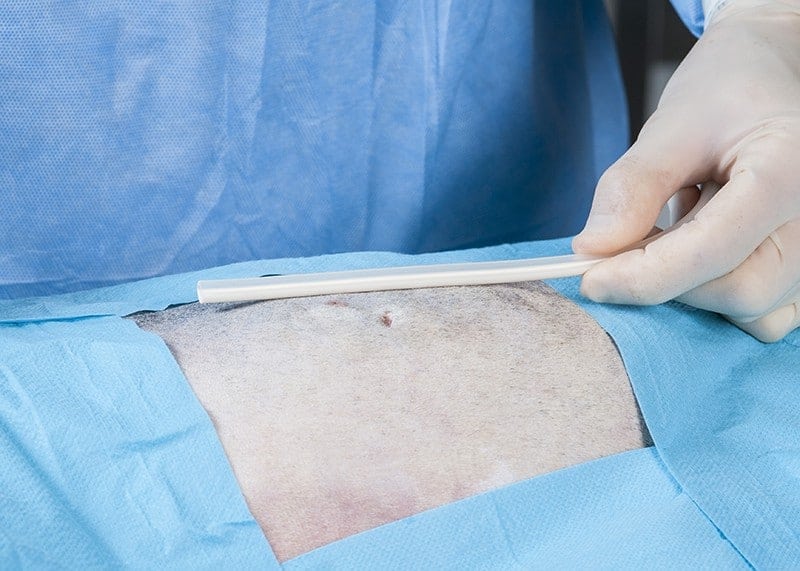
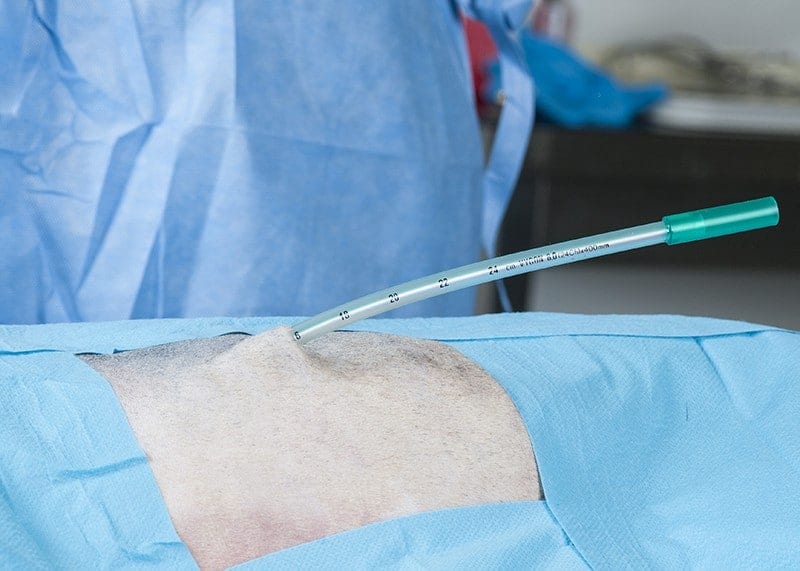
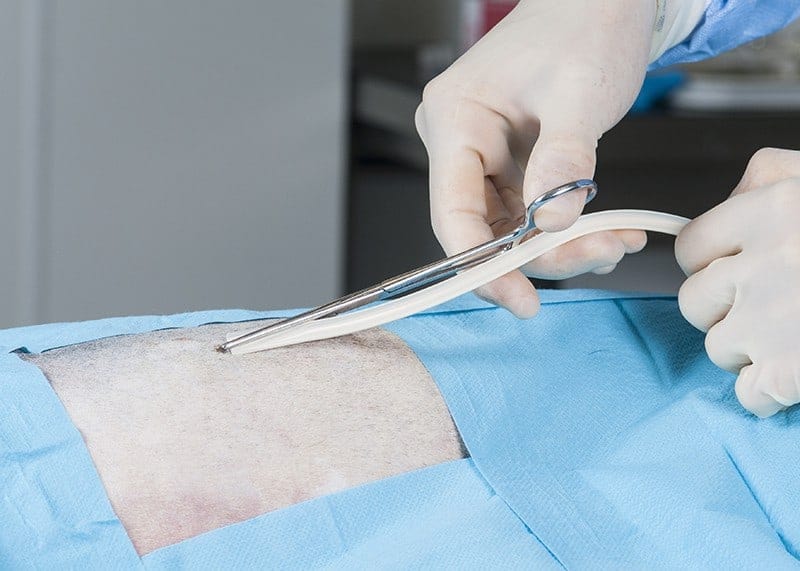
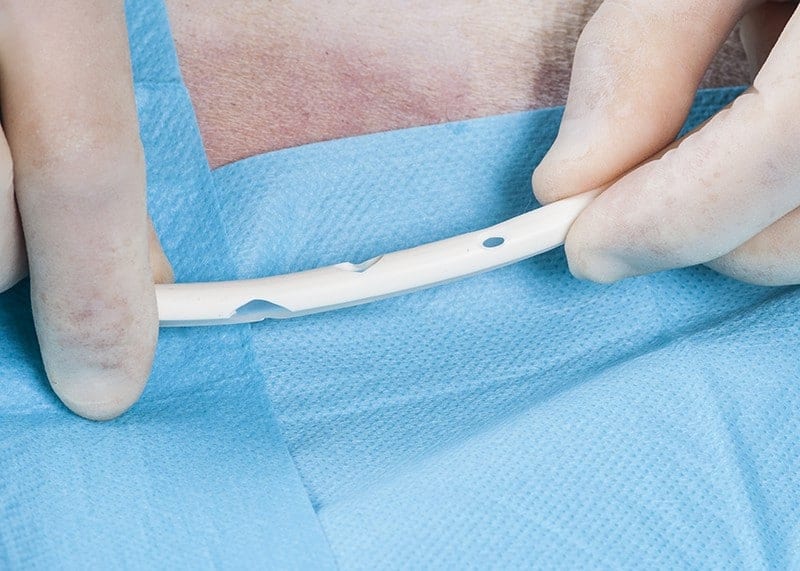
This is a soft silicone or rubber thoracic drain used by some surgeons. It can be placed using a close technique.
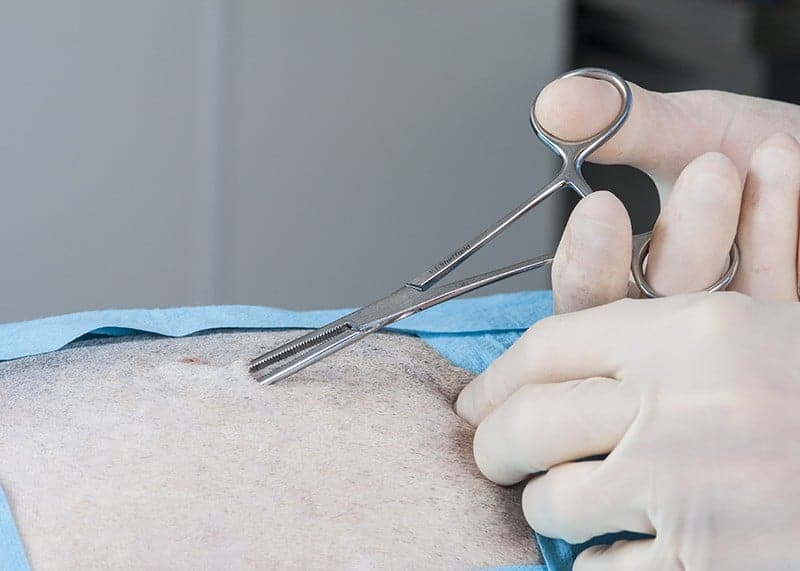
A subcutaneous tunnel is dissected with a blunt instrument.
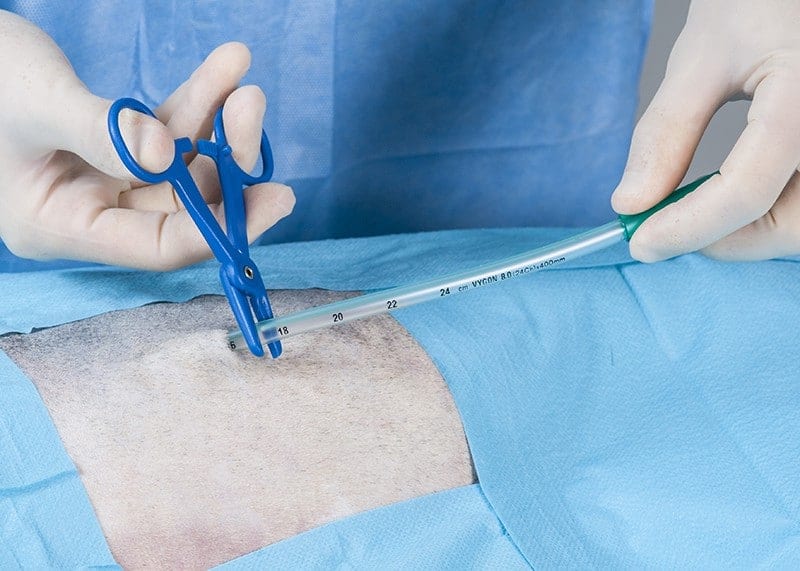
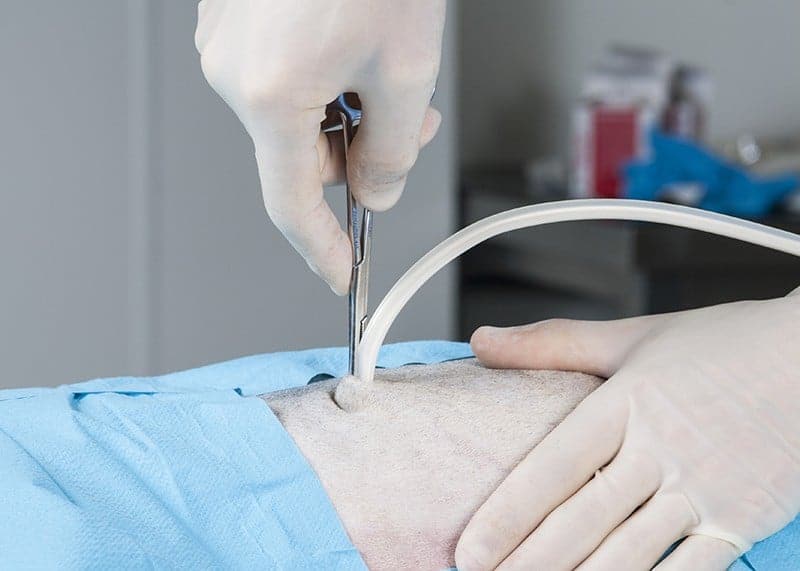
The dissection is continued through the intercostal space.
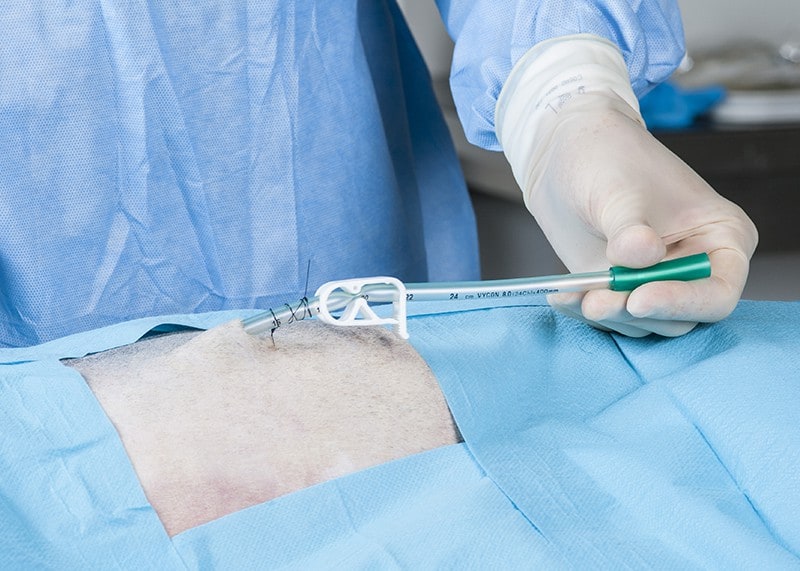
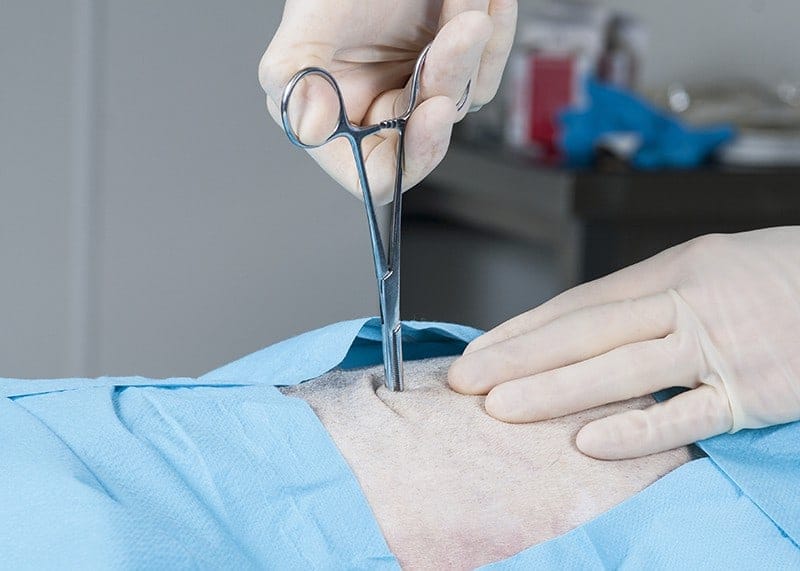
The tip of the drain is grasped in the forceps, pushed through the subcutaneous tunnel, and subsequently plunged into the pleural space.
The drain is inserted into the pleural space.

This type of soft drain can only be placed with the patient under general anaesthesia. An open pneumothorax is produced during insertion and therefore the patient’s ventilation needs to be controlled.
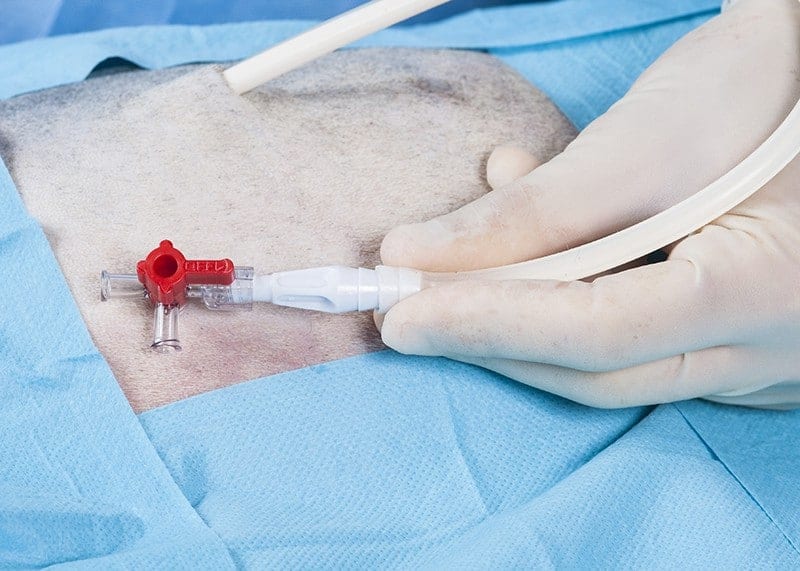
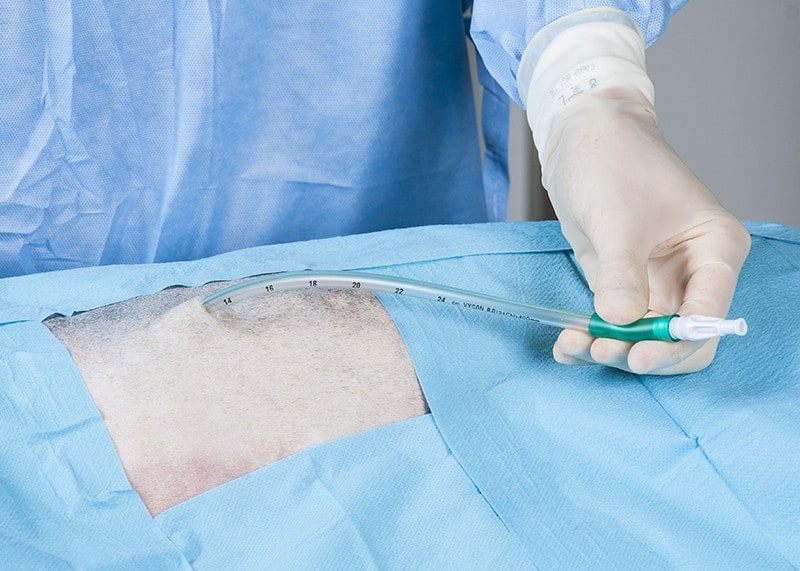
A universal tubing connector is used to convert to a luer-lock system which can then be connected to a standard three-way tap.
Again the drain is secured at the skin with a Chinese finger trap or Roman Sandal suture. The drain has a radio-opaque strip within it allowing the identification of the drain’s position radiographically.
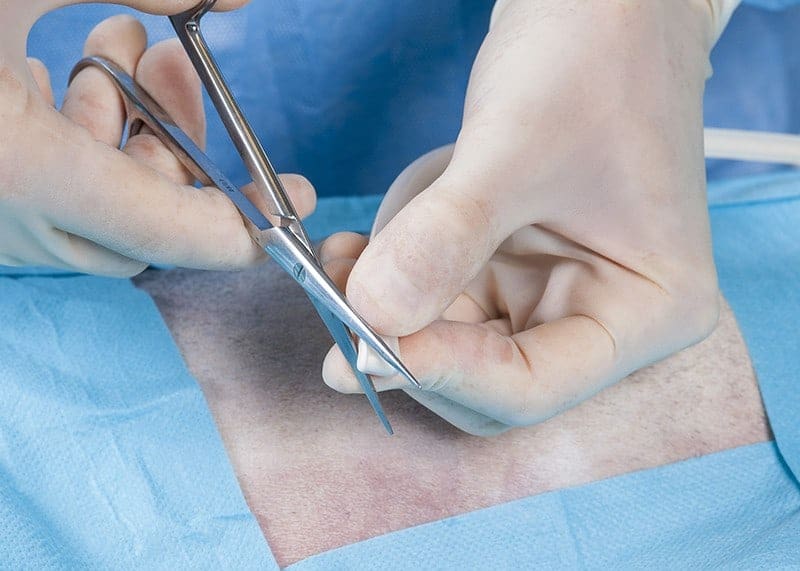
Additional side holes can be created by folding the drain and cutting across the corner.
This may improve the efficiency of drainage but care with sharp edges.
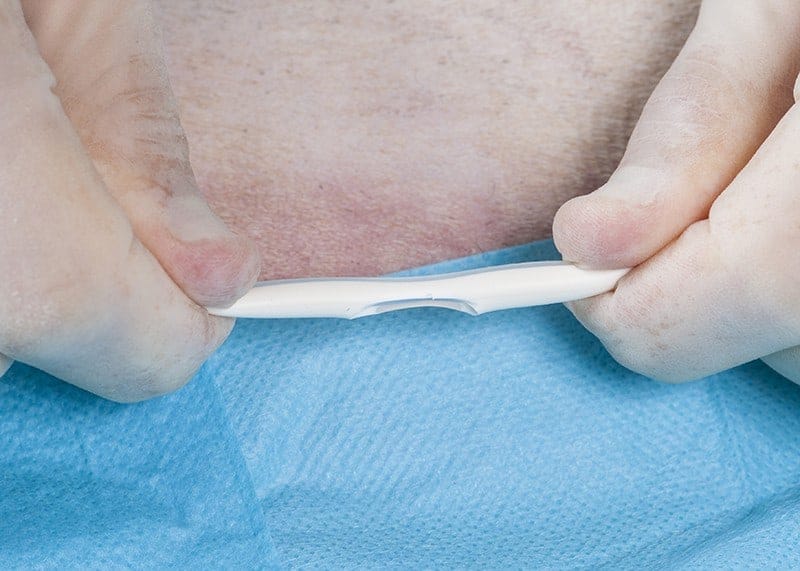
The drain is also weakened.
The drain may then break!


