Free 3-5 day delivery
on all orders
This should be done, as a routine, with the animal under general anaesthesia. It's almost always safer to anaesthetise and intubate rather than performing it as an emergency procedure in the conscious patient.
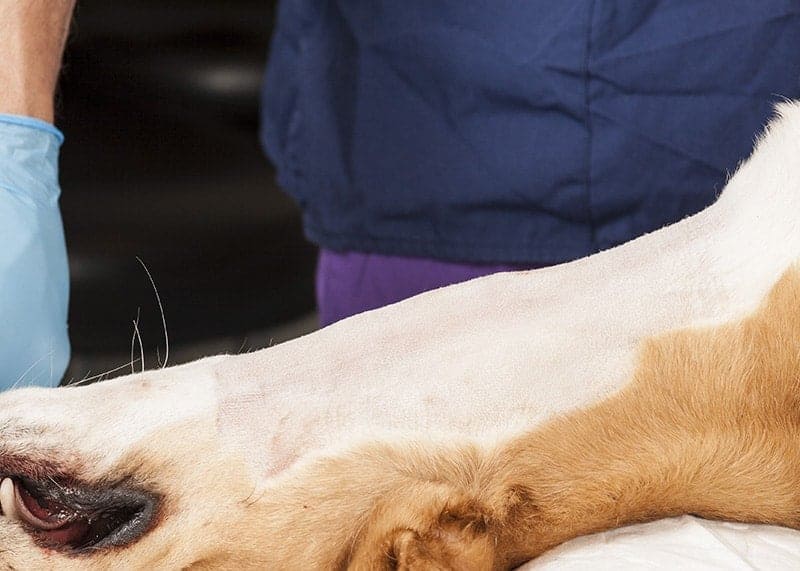
Patient is in dorsal recumbency with the neck stretched gently over a sandbag to place it in full extension.
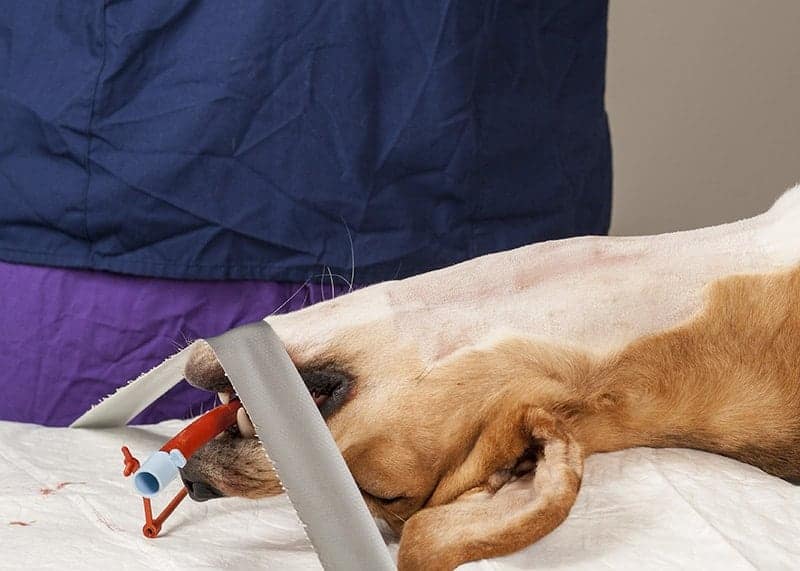
Additionally tape the nose to the table to maintain a straight position.
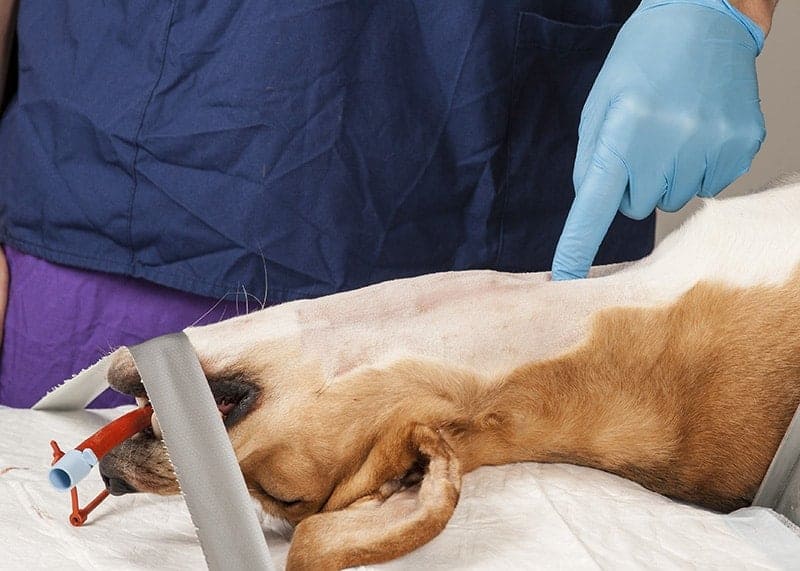
The finger is pointing to the midline cervical trachea, halfway between the larynx and the thoracic inlet.
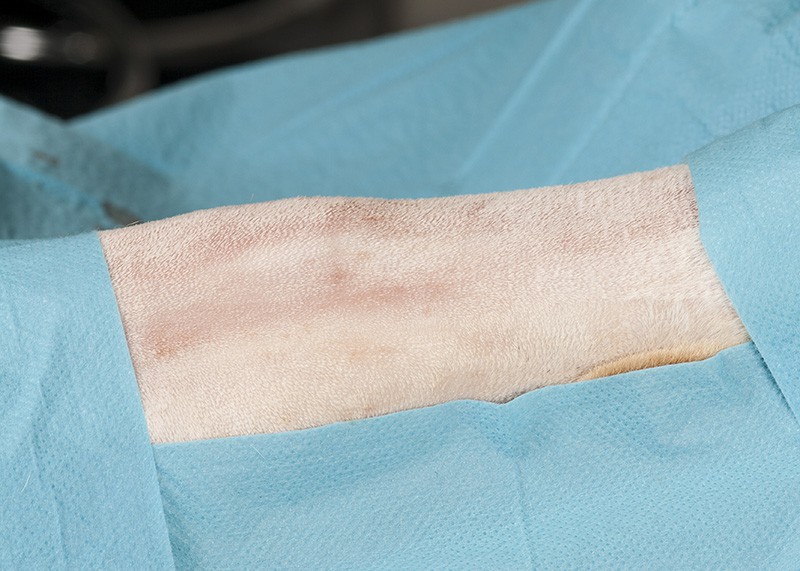
Animal prepped and draped as for aseptic surgery.

A midline skin incision is made long enough to allow exposure of the trachea during the later stages of surgery.
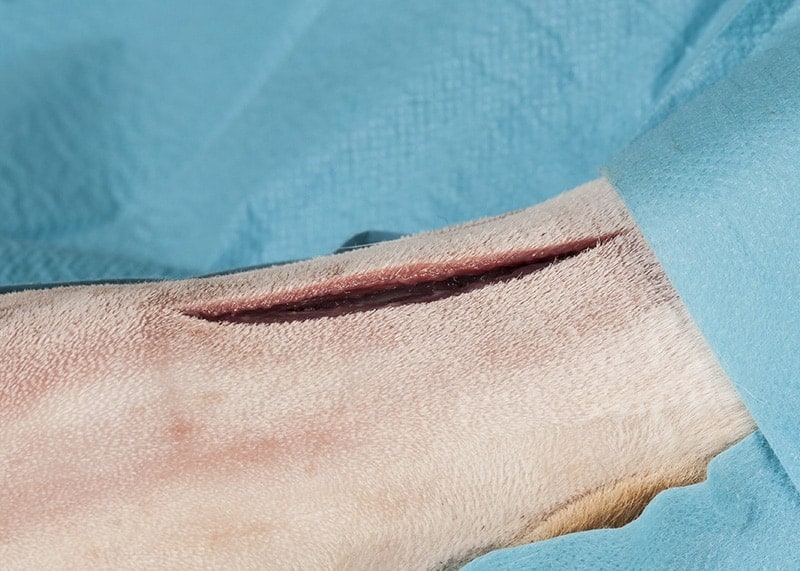
The incision is completed through the skin.
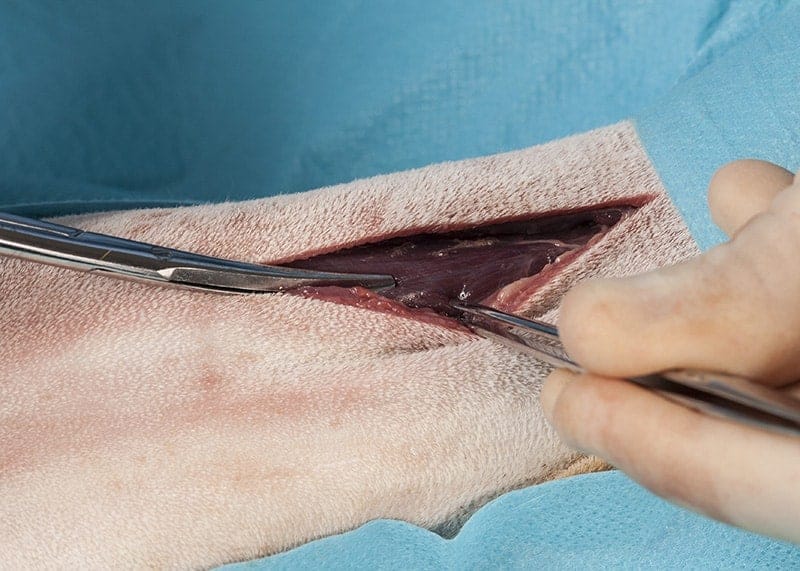
The strap muscles of the neck are Identified on the midline and dissected by a combination of sharp and blunt dissection.

The trachea is now exposed.
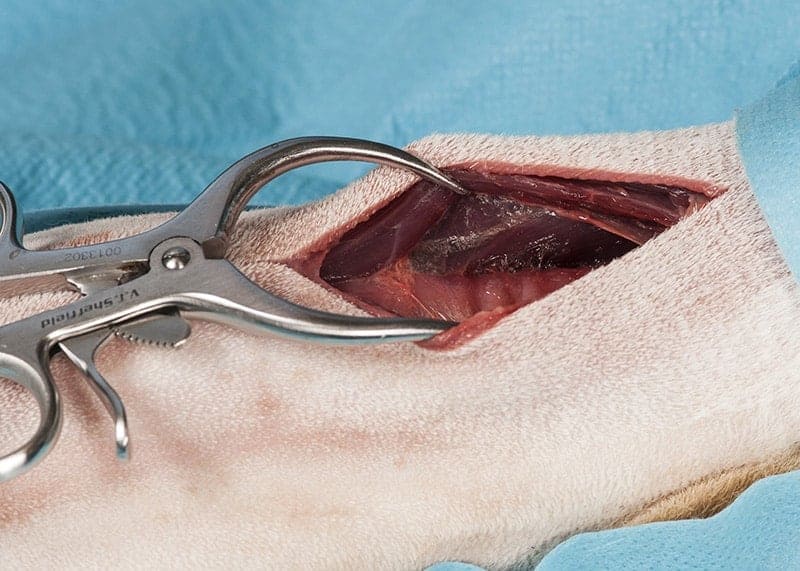
Self-retaining retractors (Gelpies) help to expose the trachea.
Two Gelpies placed – excellent exposure achieved allowing identification of the tracheal rings and preservation of other vital structures.
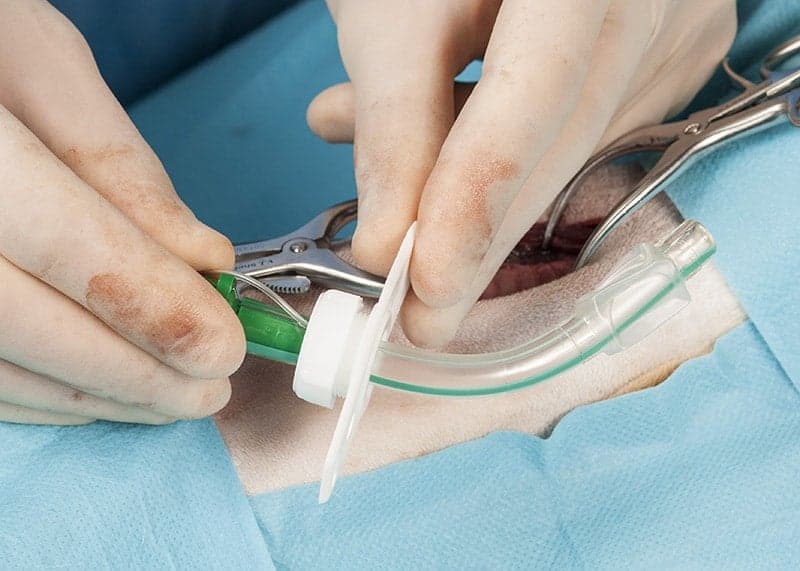
The Tracheostomy Tube has a standard fitting for connection to an anaesthetic circuit. This one has a cuff which is more suitable for temporary placement during anaesthesia rather than as a TT to be left in place for more than a few hours.
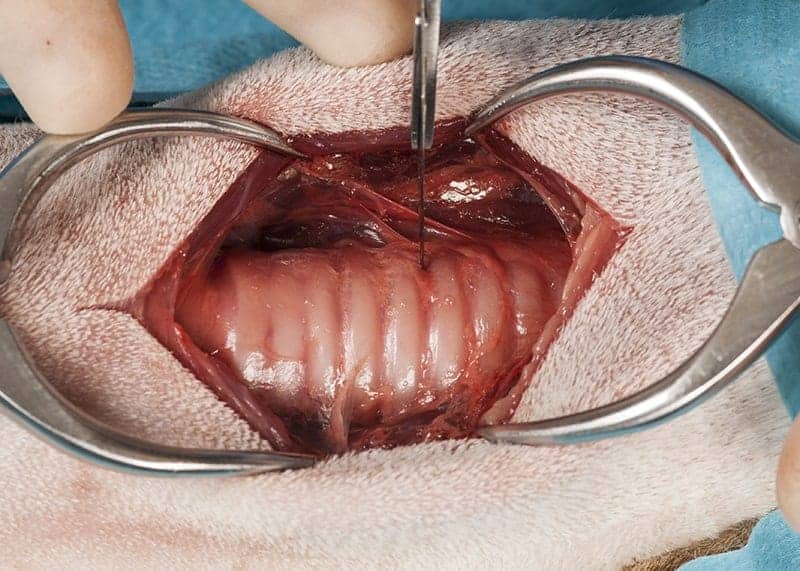
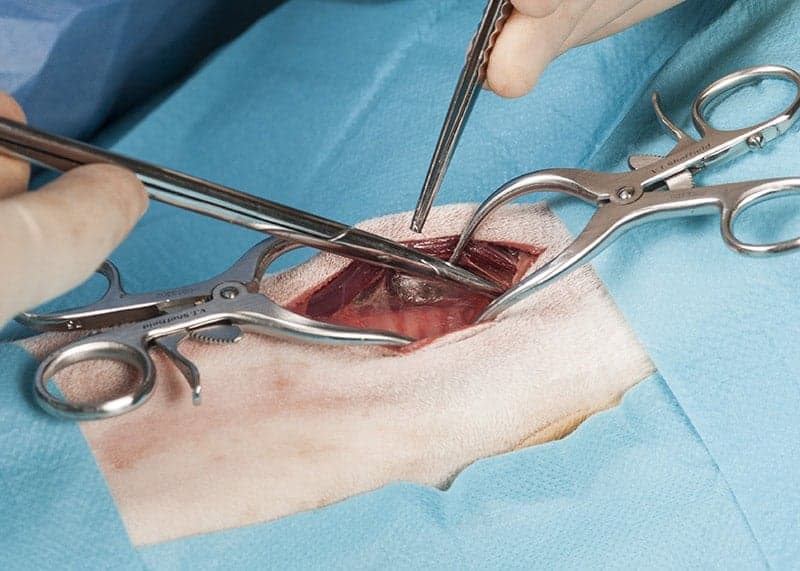
The standard tracheostomy incision is an incision between tracheal cartilage rings and this extends to approximately 50% across the diameter of the trachea.
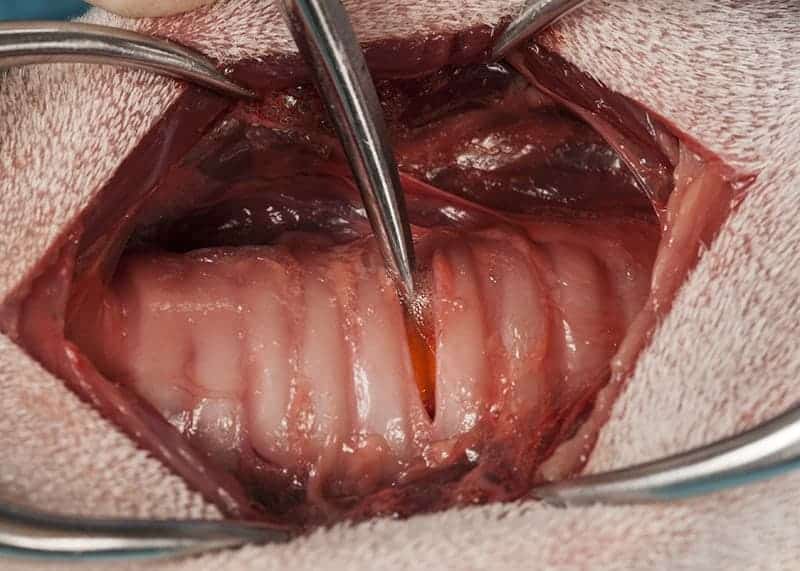
Having completed the incision you can see the rubber endotracheal tube in place.
Here the incision is about 30% of the circumference. It needs to be large enough to allow the TT to be readily placed, but an excessive incision could lead to the inadvertent transaction of the trachea.
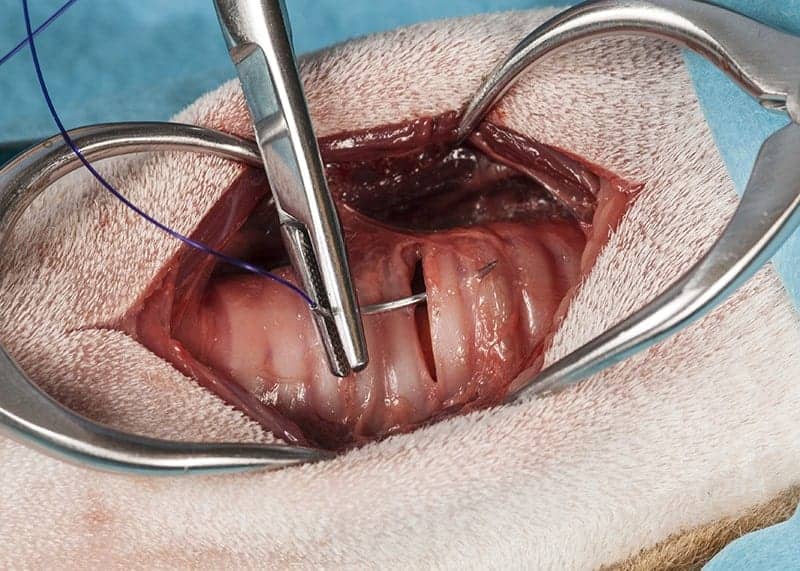
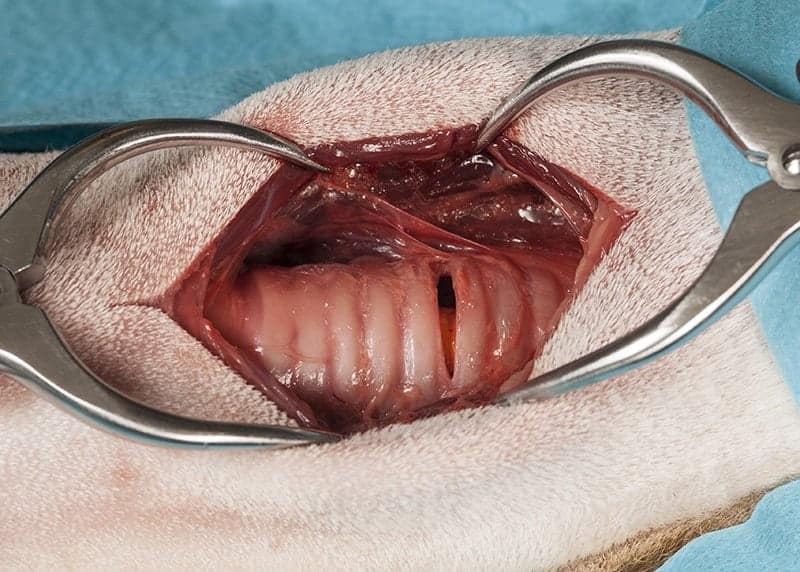
It is a good idea to place stay sutures either side of the tracheostomy incision and these are commonly left in place in the post op period if the animal is to recover from anaesthesia with the TT in place. Use a monofilament suture material and this is placed entirely around a tracheal cartilage.
Here you can see one stay suture in place.
The second stay suture being placed.

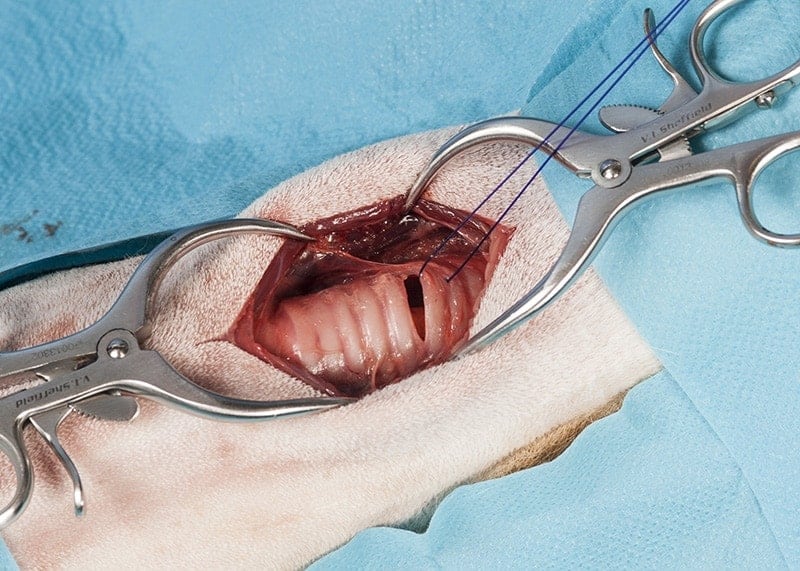
Two stay sutures in place.
During surgery the stay sutures can be manipulated to allow atraumatic insertion of the TT and by leaving in place the same method can be used if the TT is replaced in the conscious animal later. In order for the TT to be placed, the endotracheal tube now needs to be withdrawn from the patient’s mouth.
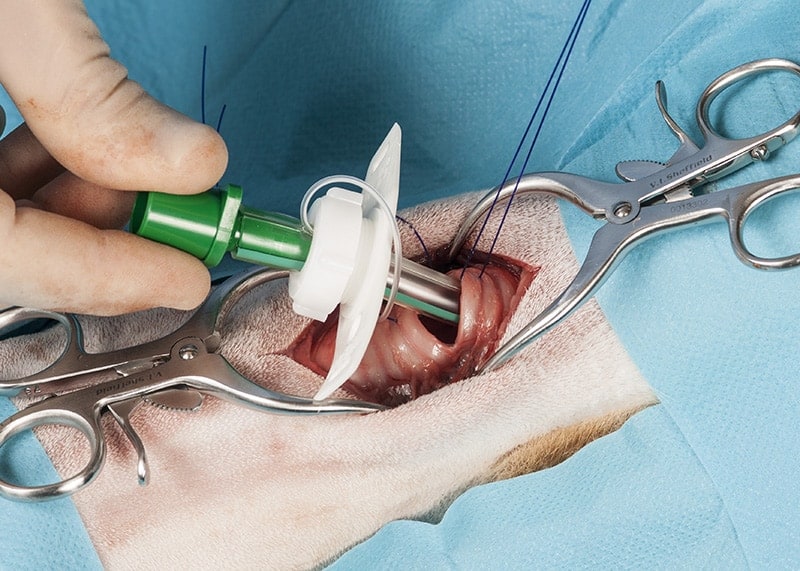
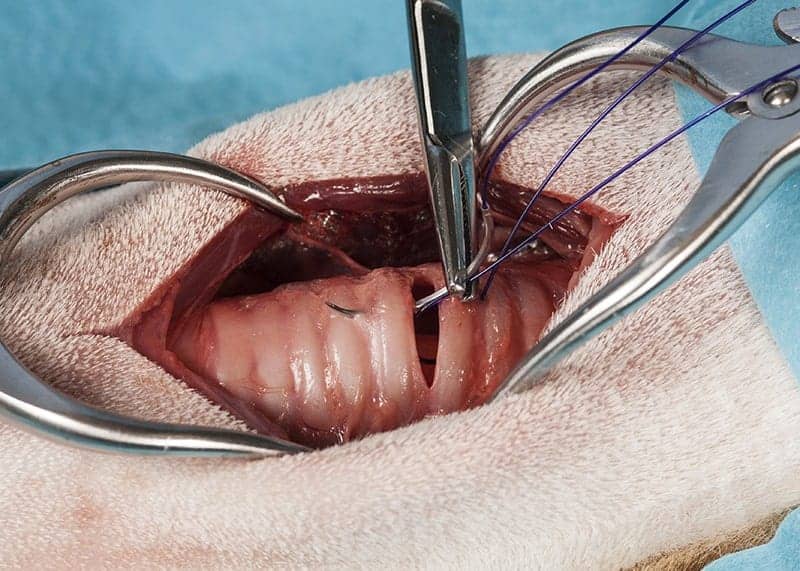
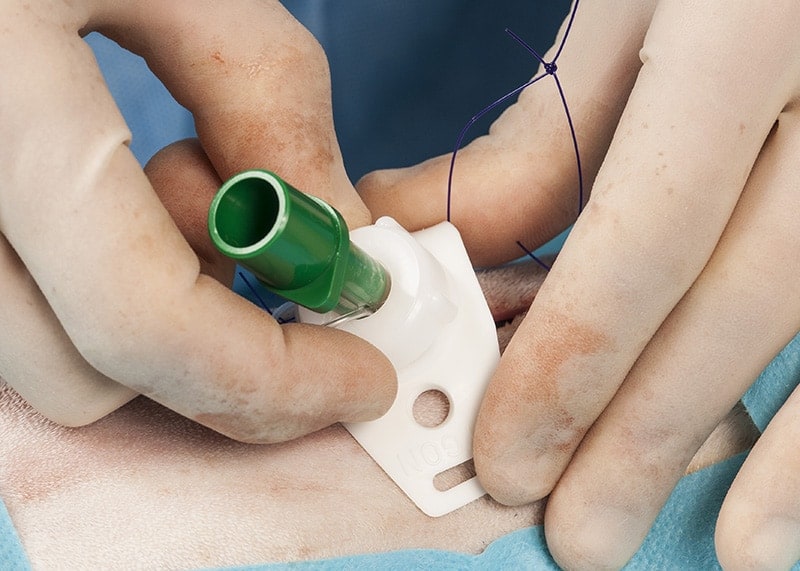
Tracheostomy tube being placed.
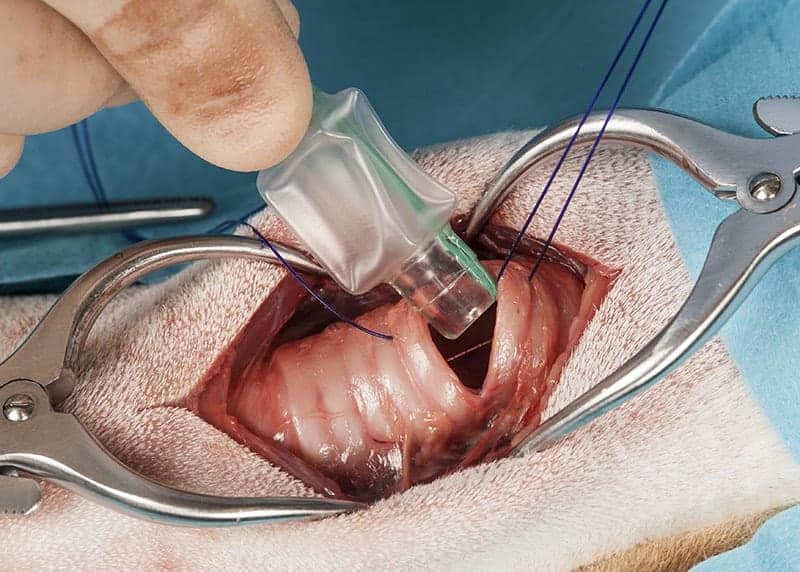
TT in place – the cuff on the tube can now be inflated and the tube connected to a standard anaesthetic circuit. Ideally the surgeon should have available a sterilised anaesthetic circuit or a clinically clean new anaesthetic circuit can be used or an anaesthetic circuit can be sheathed in a sterile drape.
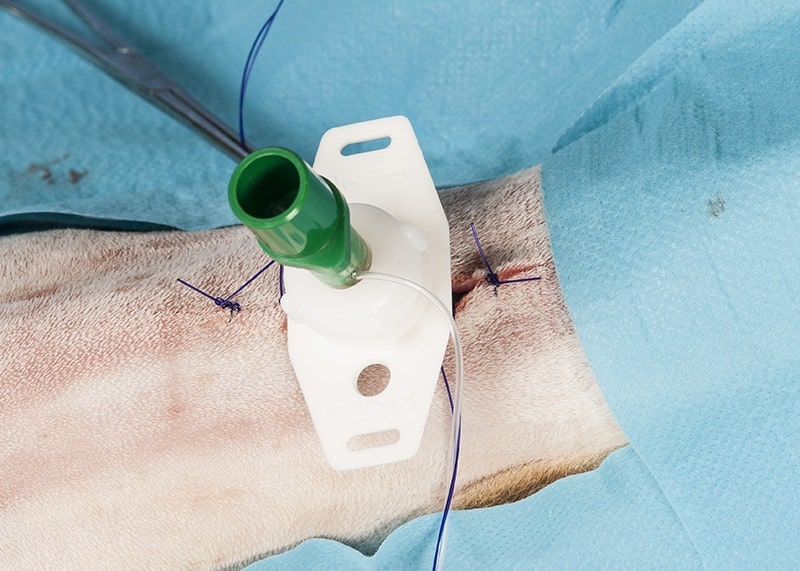
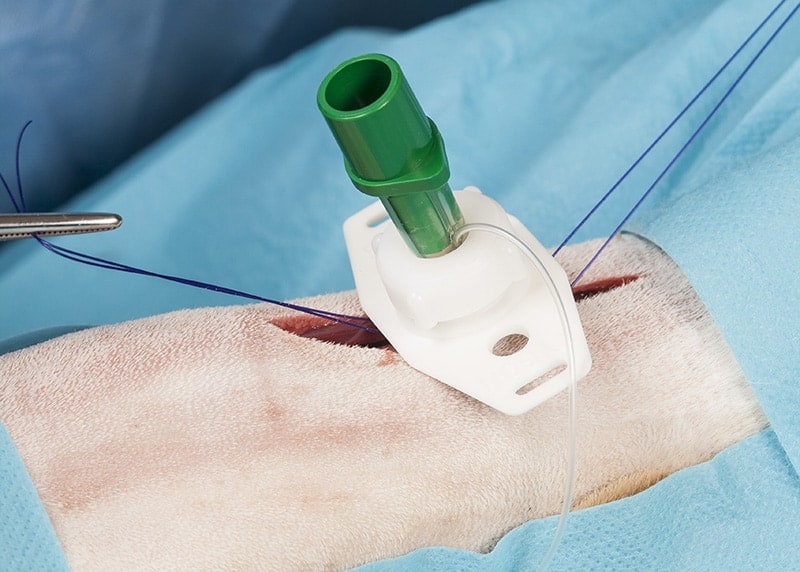
The incision is closed loosely in the skin, distal and proximal to the TT, enough space needs to be left so that the tube can be readily replaced if necessary.
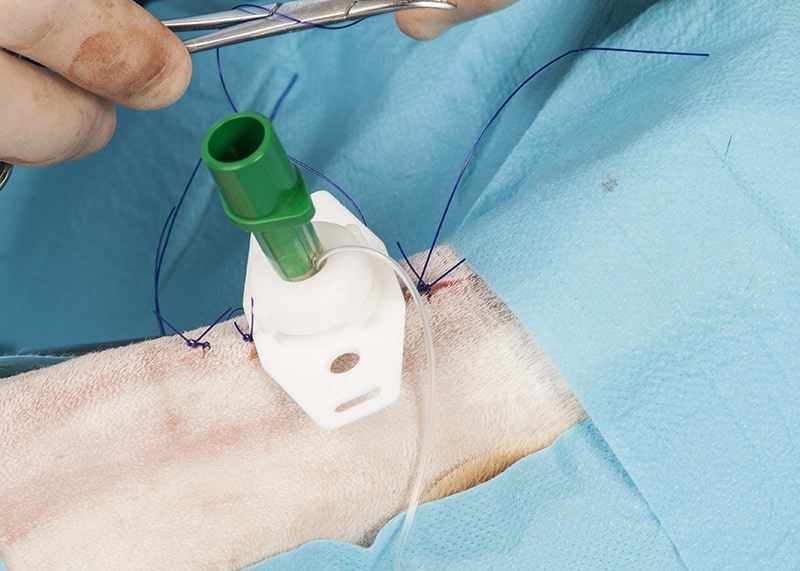
The stay sutures being lifted by the surgeon’s hands and post operatively they can be used to manipulate the tracheostomy if the TT has to be replaced e.g. if it is blocked or displaced.

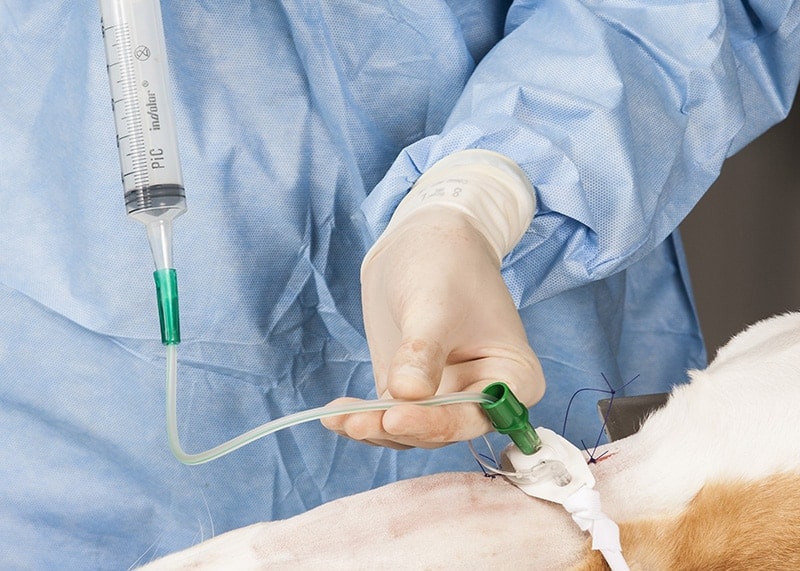
This tube has a cuff which is being inflated. The cuff is inflated when the tube is being used to deliver anaesthesia, but if it remains in place post operatively the cuff should be deflated and ideally the tube replaced with an uncuffed model.
The tube is equipped with wings which can be used to loosely tape around the animal’s neck to retain the TT in place. It is also possible to suture the tube to the neck. This makes it more difficult to replace in an emergency if the tube becomes unexpectedly blocked.

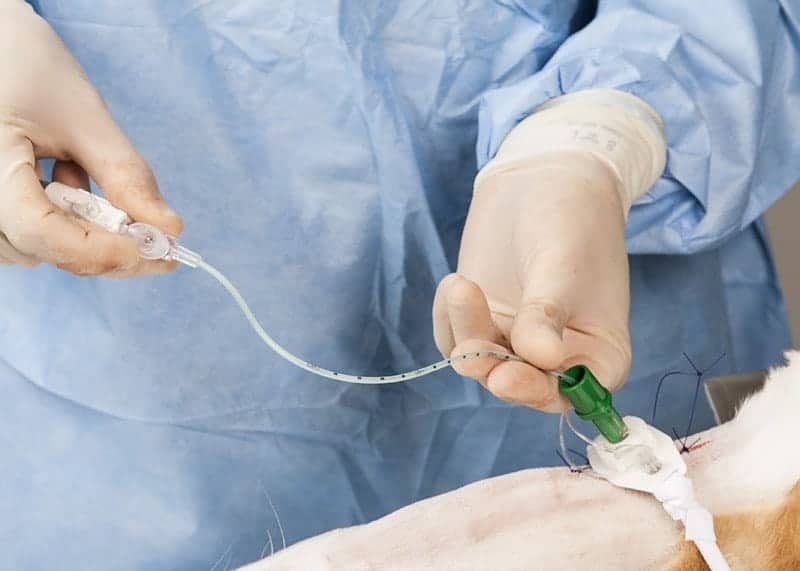
This tube has a connection which allows the cuff of the tube to be neatly folded out of place.
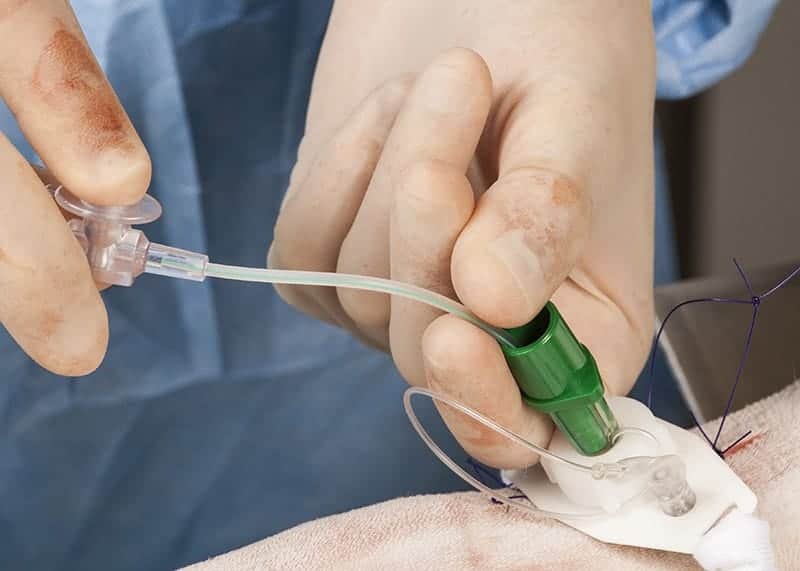
The tube will need suctioning initially after placement because of the presence of blood in the trachea and then the TT needs to be suctioned clear as necessary, typically we start this 4 hours after placement and repeat every 1 – 2 hours. This is being done here with a wide bore tube connected to a feeding tip syringe.
The preferred suction catheter for maintaining these tubes has a control tip as you see here so the end of the tube is placed through the TT. The other end is connected to an electrical suction device and you can see by the surgeon’s right hand there is a valve which allows suction to be applied intermittently. The animal should ideally be pre-oxygenated before each episode of suction.
The control valve on the suction catheter by the fingers of the surgeon’s right hand.


