Free 3-5 day delivery
on all orders
Hover/tap on an image to view details.
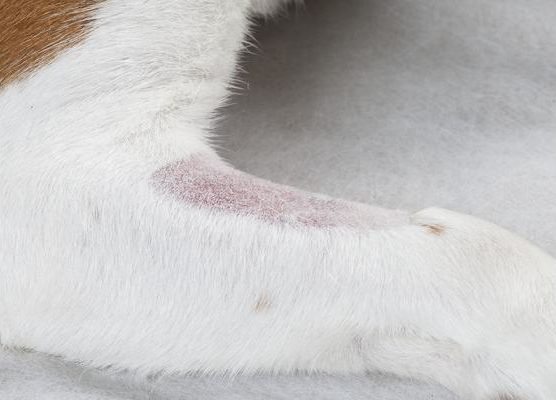
Full aseptic preparation; refer to current best practice standards.
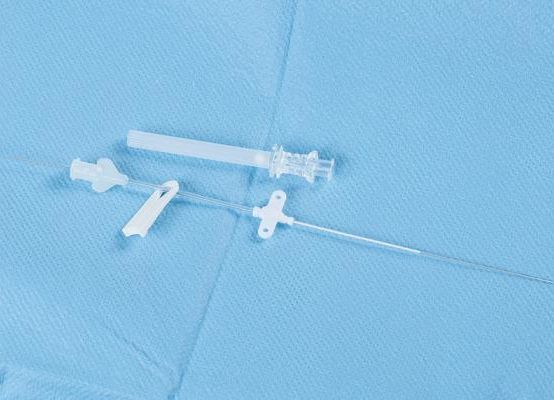
The Seldinger technique may be used for peripheral catheterisation and provides an alternative to the standard over the needle or butterfly needle techniques. It may have advantages for catheterisation in low perfusion states, to enable placement of longer catheters and for ease of placement in certain situations, although there are little published data as to the use of the technique in companion animals for peripheral catheterisation. A locator needle is provided, sleeved as part of the sterile kit. Remove it from the kit. There is no need to fill this with saline.
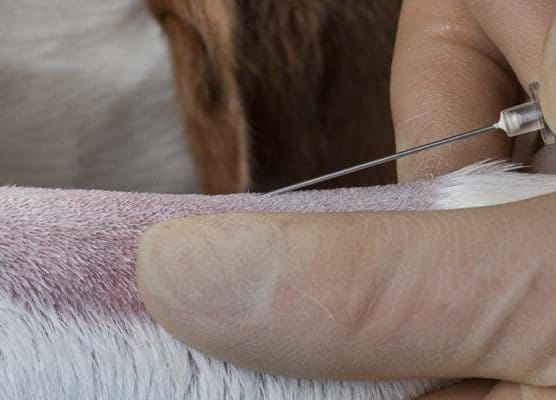
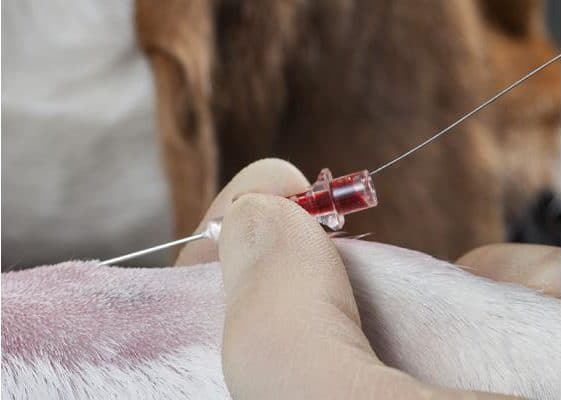
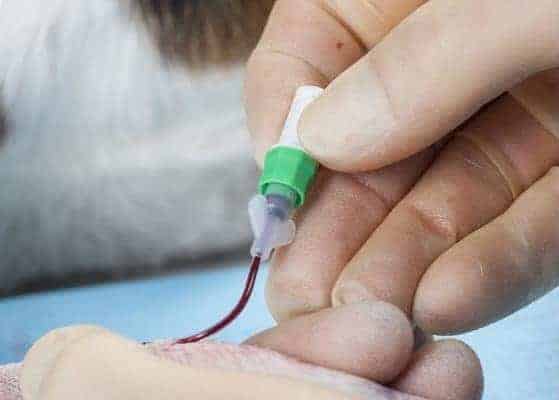
The needle is introduced into the vein using a single, purposeful needle advance at an angle that is not likely to penetrate the distal wall of the vein. A more tentative approach often results in failure to penetrate the vein and ‘skimming’ its surface.
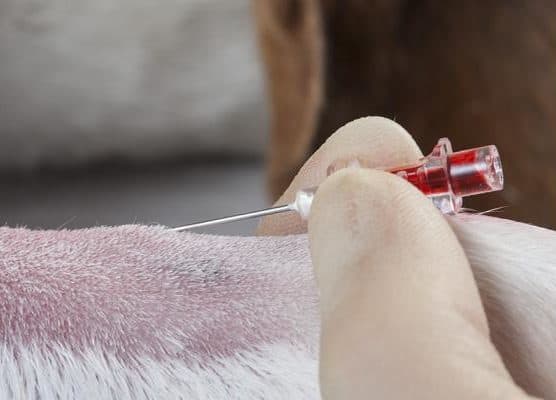
Have a needle cap or bung available in case the ejection of blood is significant. Look for flashback.
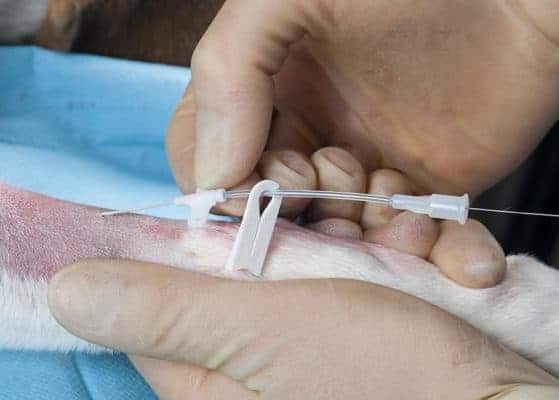
The tip of the spring wire is straight. Introduce wire into needle, stabilising the needle with the other hand to prevent unnecessary movement within the vein (not shown).
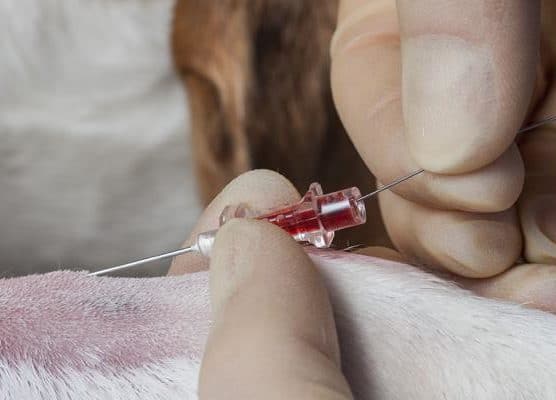
Stabilising the needle as above, advance the wire through the needle and into the vein.
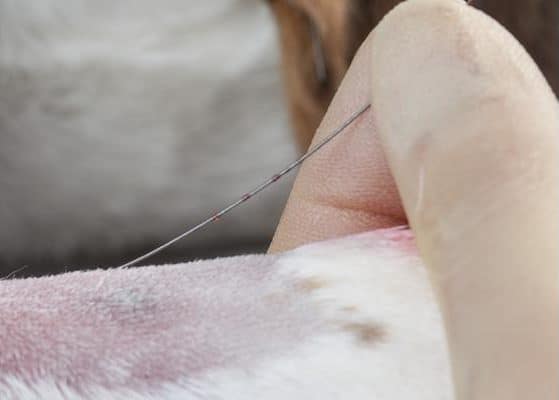
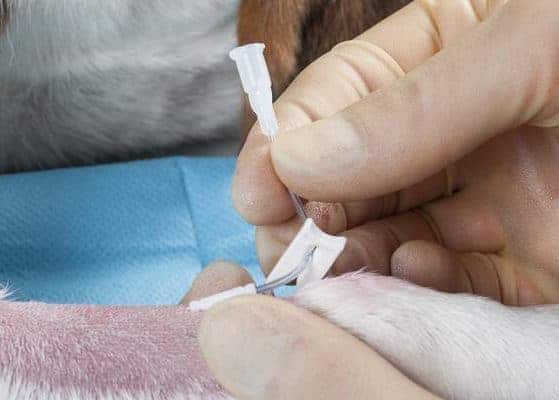
Indicator markers are provided on the wire to show distance of advancement. The wire should be beyond the end of the needle. The wire should advance very easily with little resistance. Resistance implies incorrect needle placement. The wire is now sitting in the vein through the locator needle. Withdraw the locator needle, again stabilising the wire to prevent it moving in the vein and becoming dislodged. The wire is now sitting in the vein. There may be some bleeding around the wire at this point, this is normal.
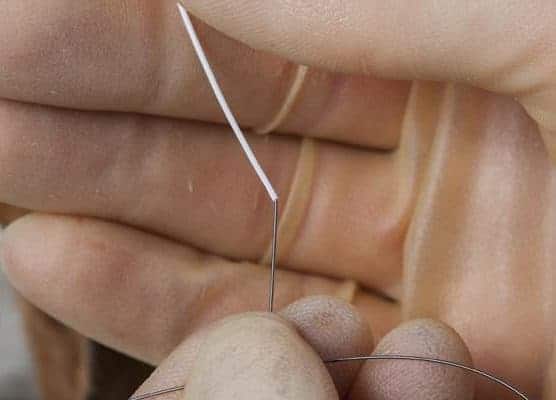
Remember to remove the cap or bung from the port of the catheter at this point. Slide the end of the catheter over the wire – take care not to damage the end of the catheter.
Holding the wire firmly to stop it advancing, slide the catheter over the wire and into the vein to its full length using a slight twisting action. The wire may have to be withdrawn slightly as the catheter is advanced to facilitate this. Slowly withdraw the wire curling it to prevent it flicking out of the clean area.
The catheter is now in place but is open to air.

Attach a syringe and drawback to aspirate all the air from the catheter. The vein may need to be raised at the thoracic inlet to allow this.
Place a bung, T-connector (pre-flushed) or Bionector as shown. If using the Bionector do not use a cap; the Bionector can be left uncovered but must be cleaned before and after each access. Alternatively place a Curos Port Protector on the Bionector to maintain a clean hub between accesses.

Immediately flush with a significant volume of heparinised saline (until catheter is seen to be clear of blood).


