Free 3-5 day delivery
on all orders
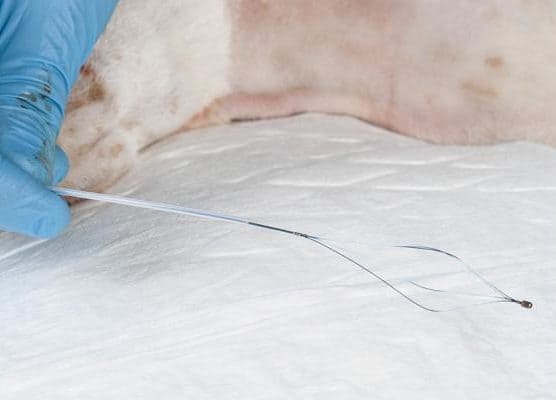
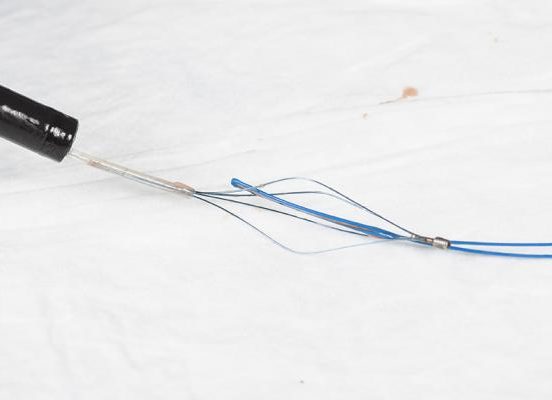
For endoscopic placement of a gastrostomy tube, or PEG tube, one of the required pieces of equipment is basket forceps to place through the endoscope. This picture illustrates the basket forceps in the open position
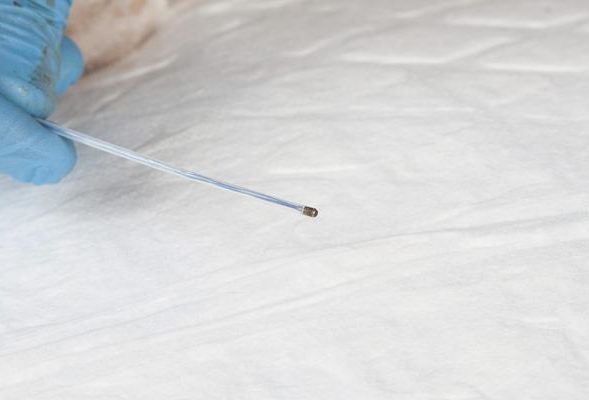
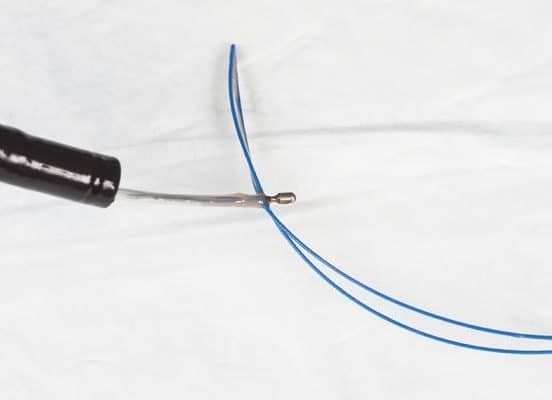
This picture illustrates the basket forceps in the closed position, as it is placed through the endoscope.

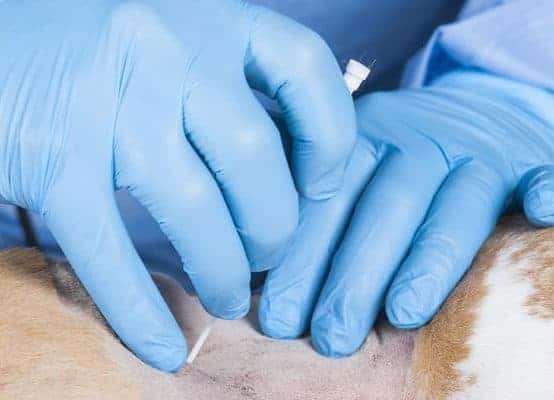
For PEG tube placement the animal is placed in right lateral recumbency and the left flank is clipped and prepared for aseptic surgery. The endoscope is placed and the stomach is insufflated at this time, while the endoscopist views the gastric wall on the monitor. An assistant places a gloved finger to apply pressure just behind the tip of the last rib on the left-hand side and this should be visible as an indentation on the gastroscopy image.
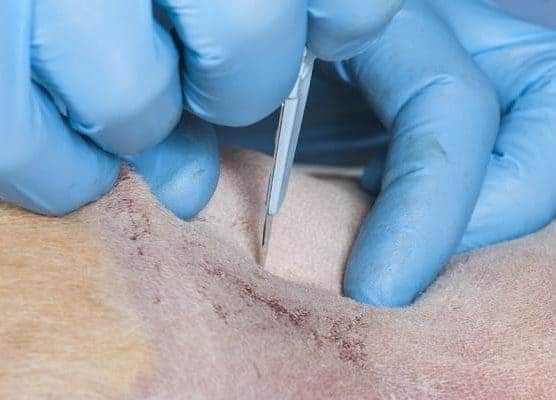
Having identified the correct place for the peg tube placement as indicated by the indentation of the finger on the monitor, a stab incision is made through the skin.
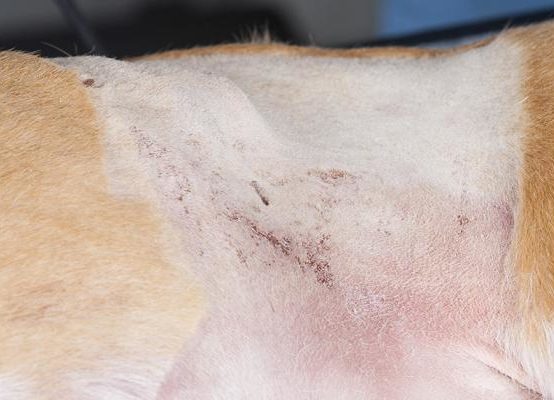
This is the stab incision that lies just behind the tip of the 13th rib on the left-hand side.
While the endoscopist observes on the monitor, the assistant then boldly places the over the needle catheter that is supplied with the PEG tube kit, through the stab incision and into the lumen of the stomach. This should be readily seen on the monitor.
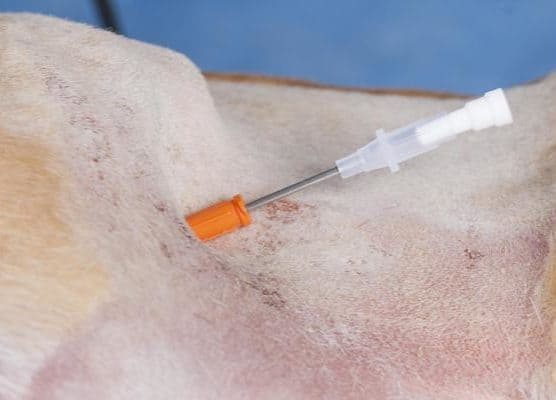
This picture shows the over the needle catheter in place, going through the skin, passing through the abdominal wall and into the lumen of the stomach. The needle of the catheter can now be removed.
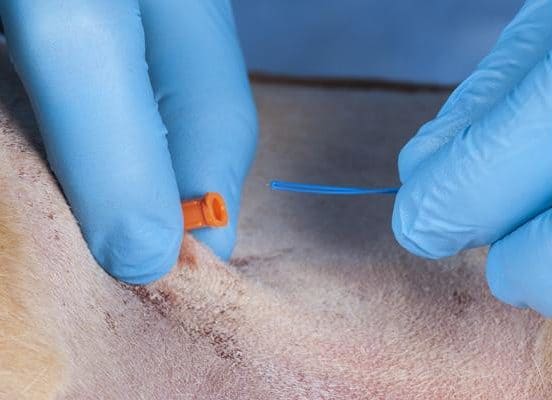
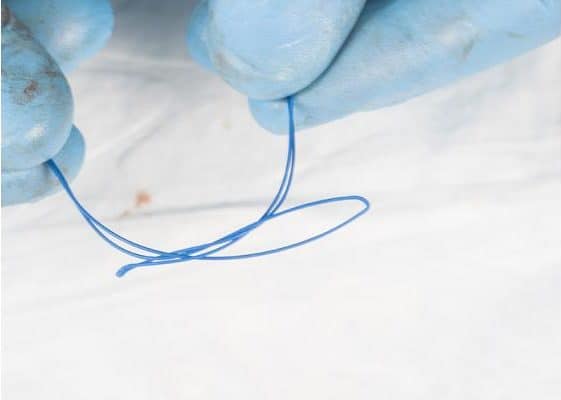
The PEG tube kit comes complete with a blue cable which is now passed by the assistant from the outside, through the catheter, into the gastric lumen. While this is being prepared it is helpful for the assistant to place a finger over the catheter to retain insufflation of the stomach.
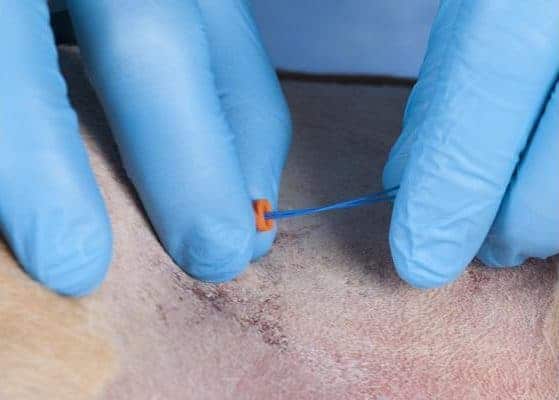
This blue cable readily passes through the lumen of the catheter. This is much more convenient than when a collection of different items are employed.

Helpfully, at the end of the blue cable there is a clamp which prevents the cable being inadvertently pulled entirely into the stomach. At this stage the endoscopist has grasped the blue cable with the endoscope inside the stomach using the basket forceps and then the cable is being withdrawn from the mouth.
This illustrates the cable caught by the endoscopist with the basket forceps and then the endoscope forceps and distal part of the cable are all withdrawn from the animal’s mouth.
The basket forceps is opened to release the blue cable.
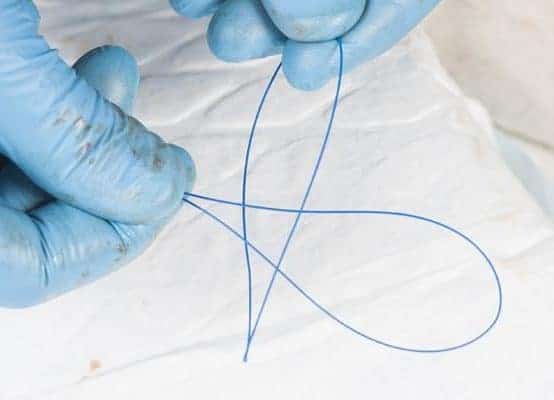
There is a corresponding loop of cable attached to the end of the gastrostomy tube by the manufacturer. By passing the loop from the PEG tube through the loop emerging from the animal’s mouth a secure connection is provided.
This shows the loop and also the mushroomed tip of the PEG tube kit.
The loop of the cable connected to the peg tube is looped through the loop of the cable passed through the gastrostomy cannula.
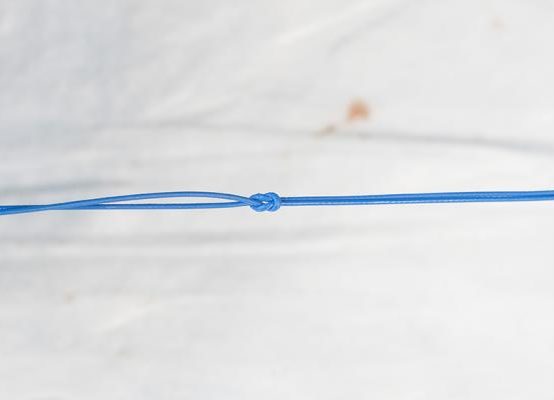
Pulling produces a firm figure of 8 connections between these two cables so that no knots need to be tied.
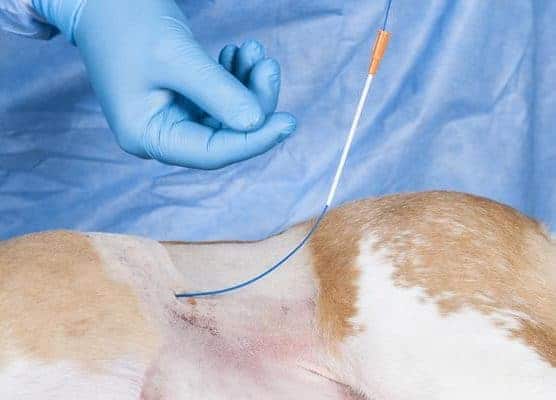
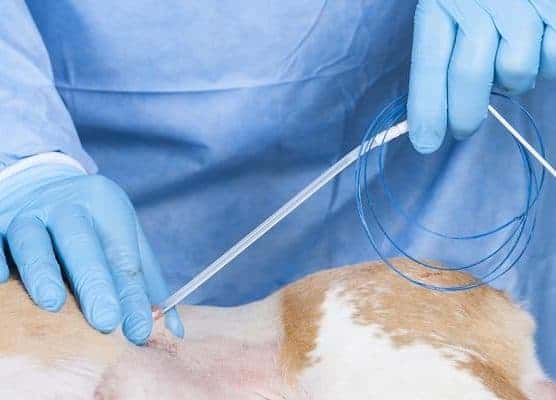
Returning to the flank of the animal the assistant now pulls on the cable and the catheter to begin to remove it through the abdominal wall.
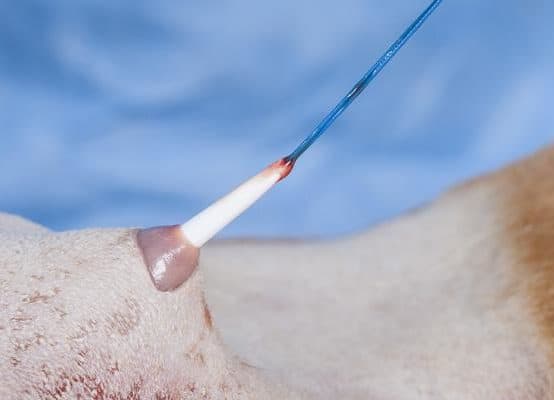
This illustrates the dilating tip of the PEG tube as it emerges through the abdominal wall.
Continued firm traction, together with counter pressure with the fingers against the abdominal wall will allow the PEG tube to be removed through the abdominal wall until the button is firmly placed against the gastric mucosa inside the stomach.
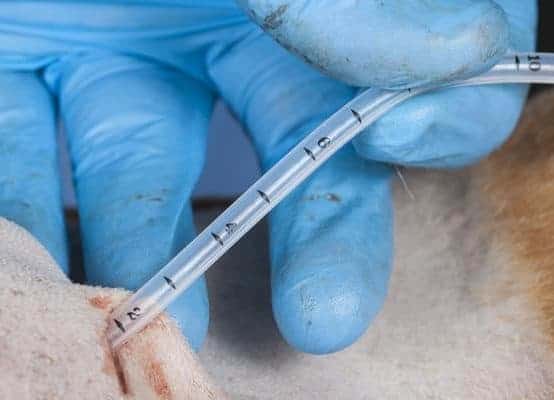
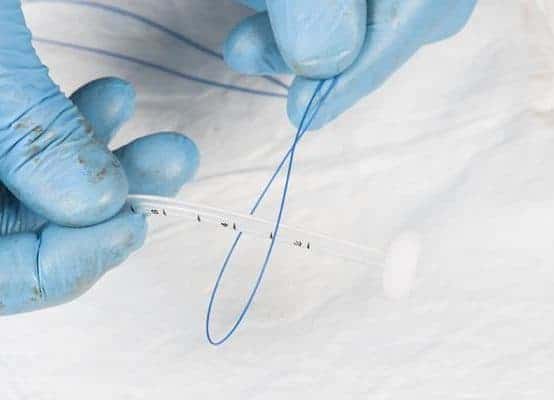
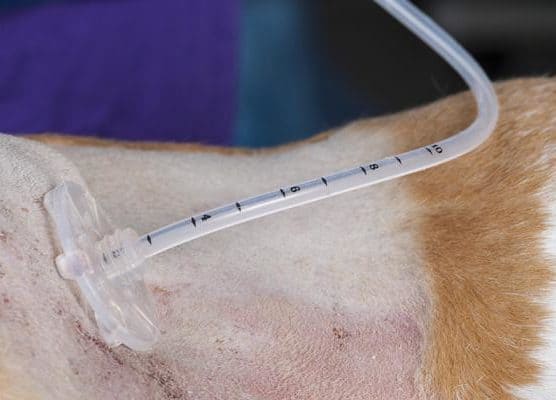
The PEG tube has been marked with cm measurements indicating the distance between the internal mushroom and the tube. As we can see here it is typical for 2cms to be remaining within the thickness of the abdominal wall. This should be marked in the patient’s record and the nursing staff should check each day that the distance has not changed.
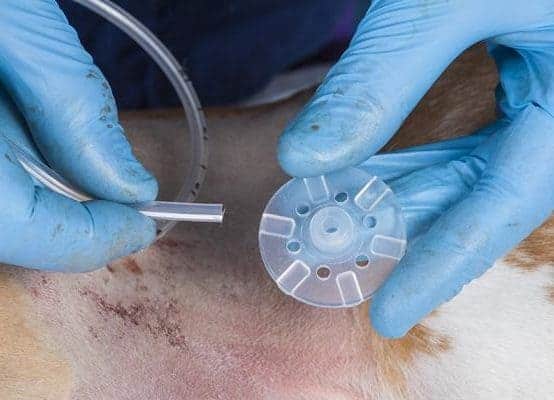
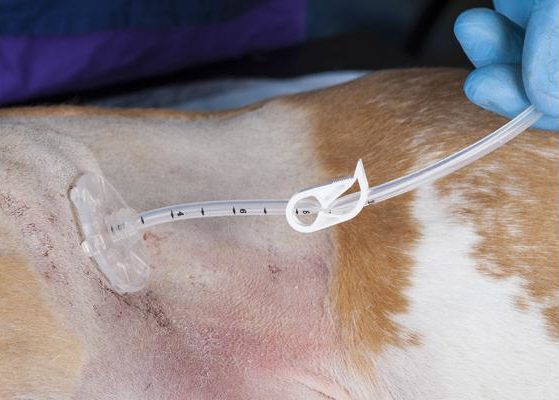
This kit comes with a fixation disc to be placed on the outside of the animal.
The tube is placed through the fixation disc.
The fixation disc is then pushed down the tube until it is gently placed against the animal’s abdominal skin.
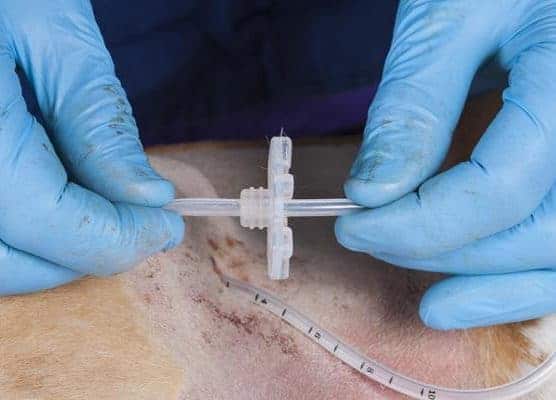
The tube also comes with a convenient gate clamp to prevent leakage of gastric contents.
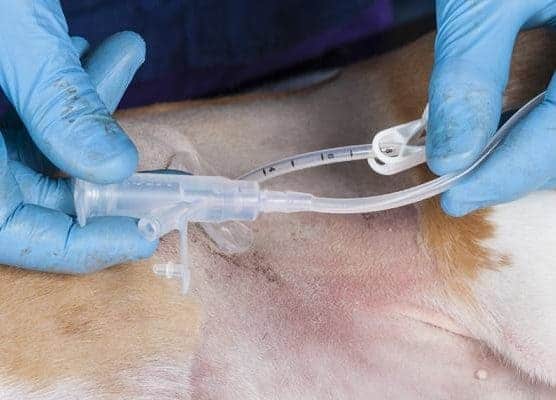
This kit also comes with connections shown here which allows the use of either a feeding tip or a standard luer tip syringe for feeding purposes.
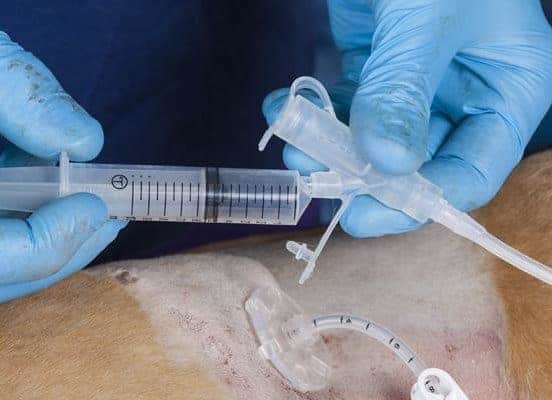
One side of the connection fits a luer syringe.
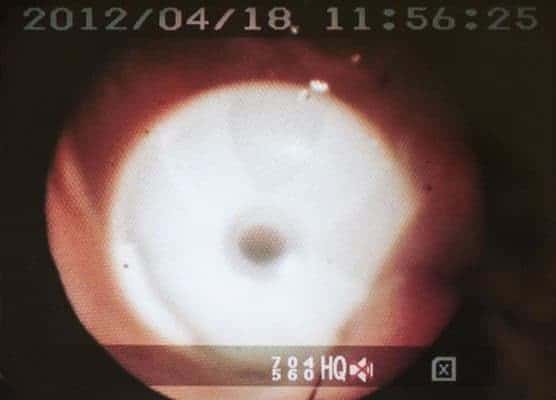
Endoscopic picture of the internal view of the stomach illustrating the button of the PEG tube snugly pulled against the gastric mucosa.


