Free 3-5 day delivery
on all orders

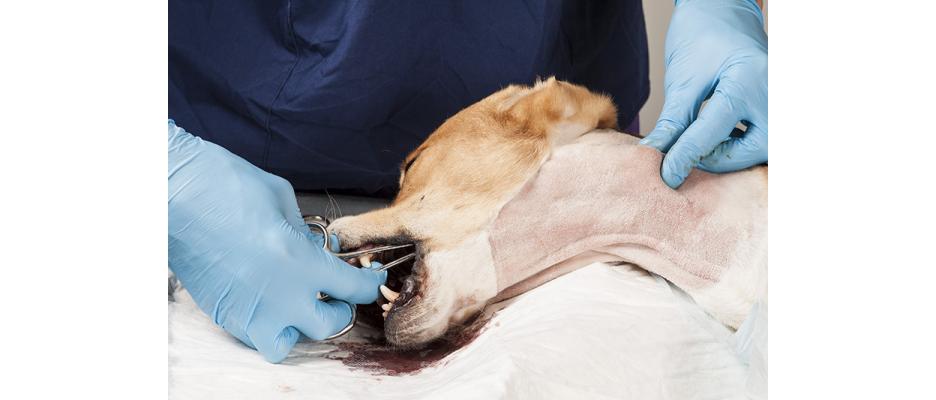
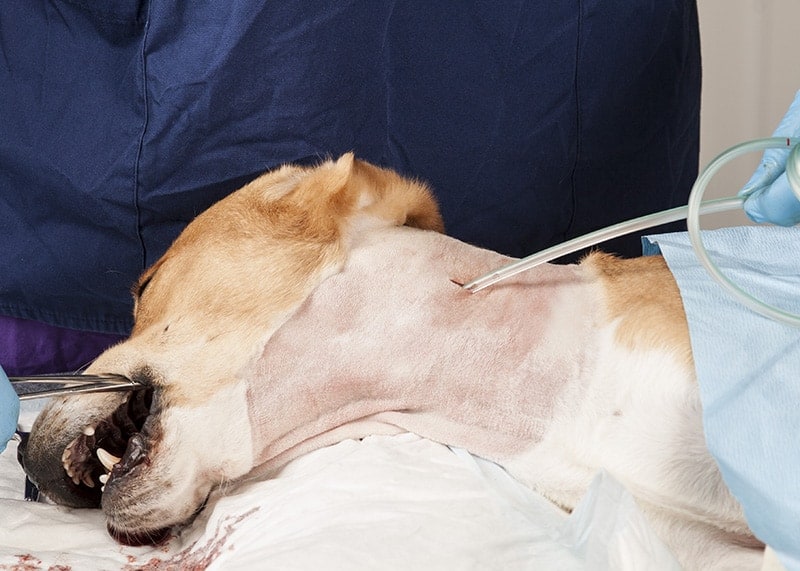
This is done with the patient either deeply sedated or preferably under General Anaesthesia. The animal is positioned in right lateral recumbency with the neck clipped on the left side. The animal is positioned over a sand bag to gently extend the neck.
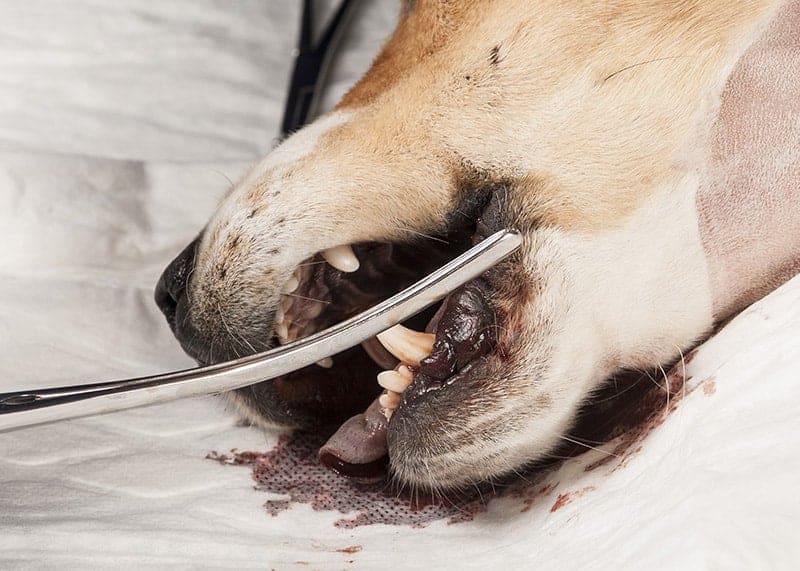
To place the tube, a long pair of curved forceps is required such as these curved intestinal forceps or alternatively a pair of Rochester haemostatic forceps, or similar.
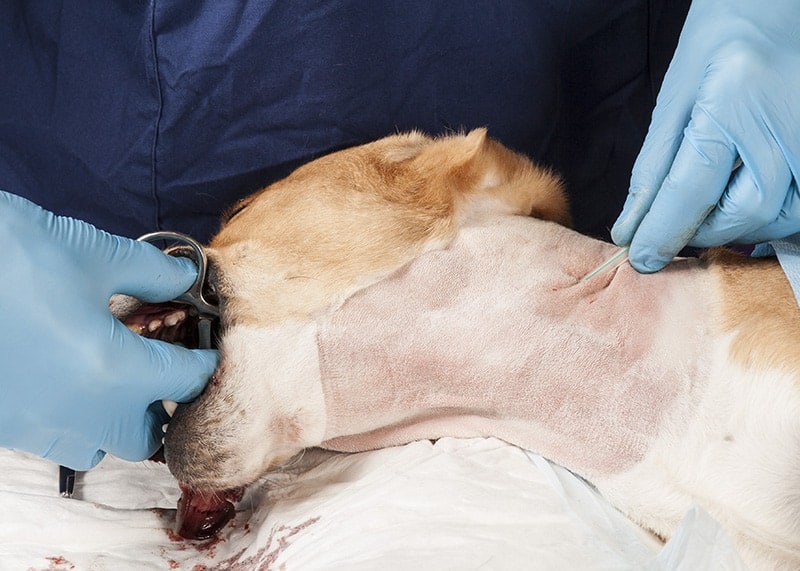
The forceps are placed through the mouth, through the pharynx and then manipulated so that the tip of the forceps is against the oesophageal wall which is then pushed laterally against the skin approximately one third of the distance down the neck.
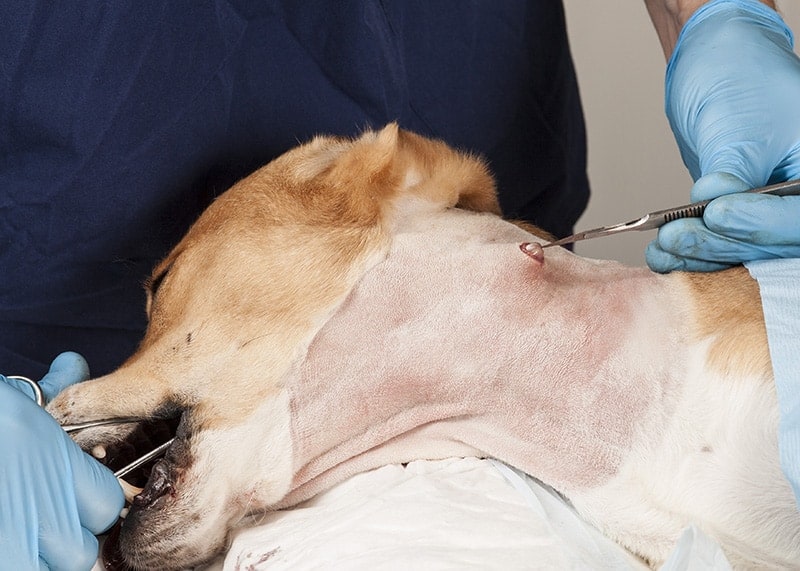
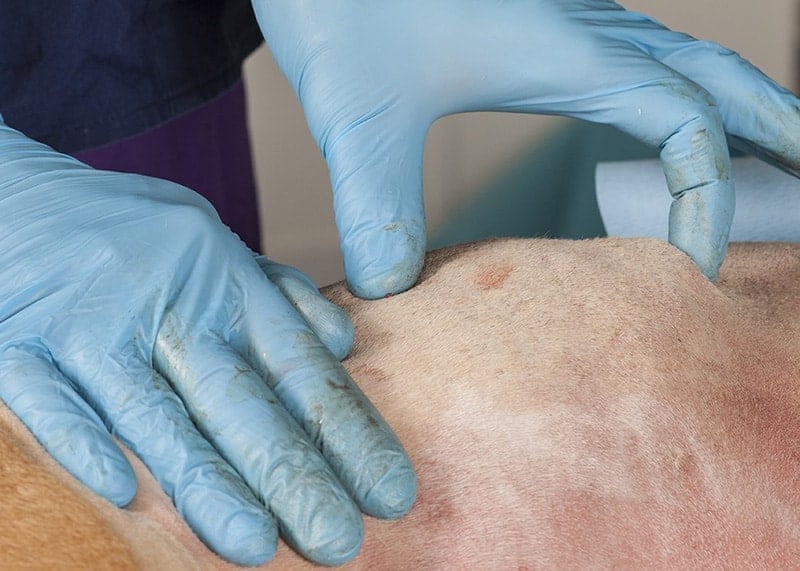
The tip of the forceps is firmly held in position to tense the tissue while a stab incision is made through the skin and the subcutaneous tissue towards the tip of the forceps. The jugular vein should be apparent ventral to this area but be aware of the risk of accidental damage.
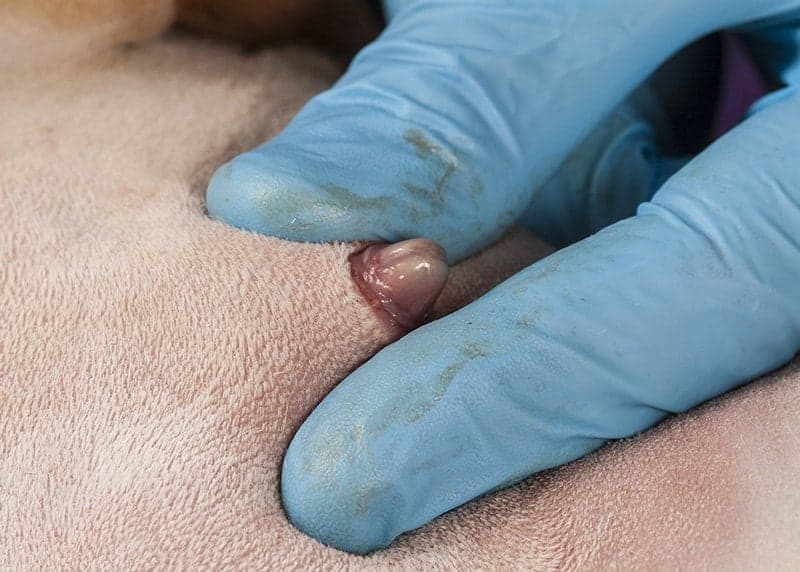
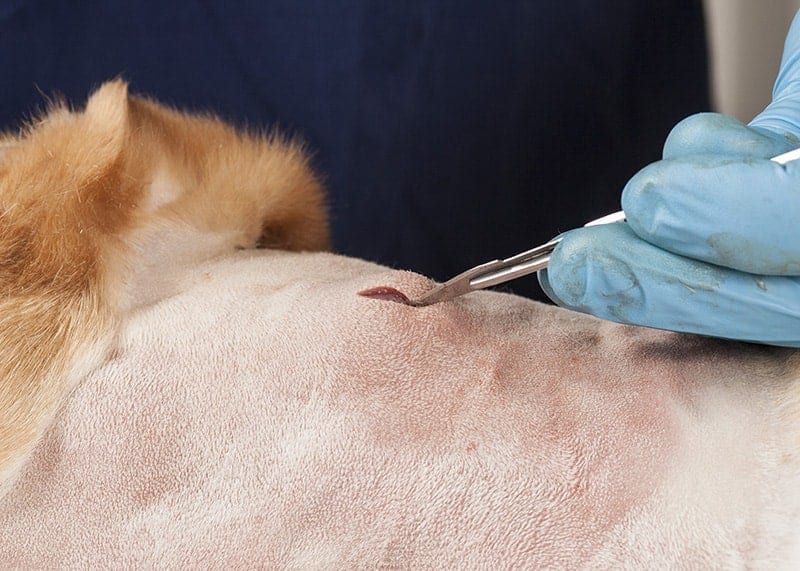
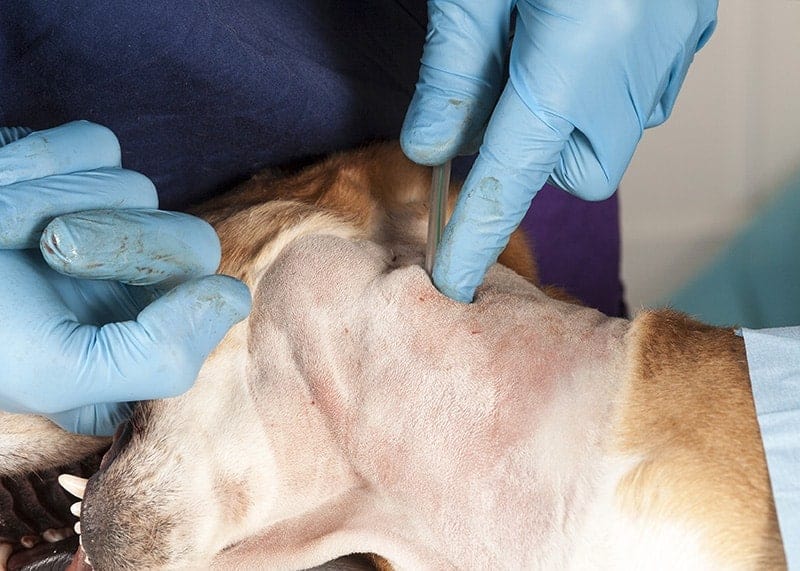
Following the stab incision through the skin and subcutaneous tissue, the tip of the forceps if firmly manipulated so that the tip is visible through the skin incision.
A further stab incision is now made through the oesophageal wall.
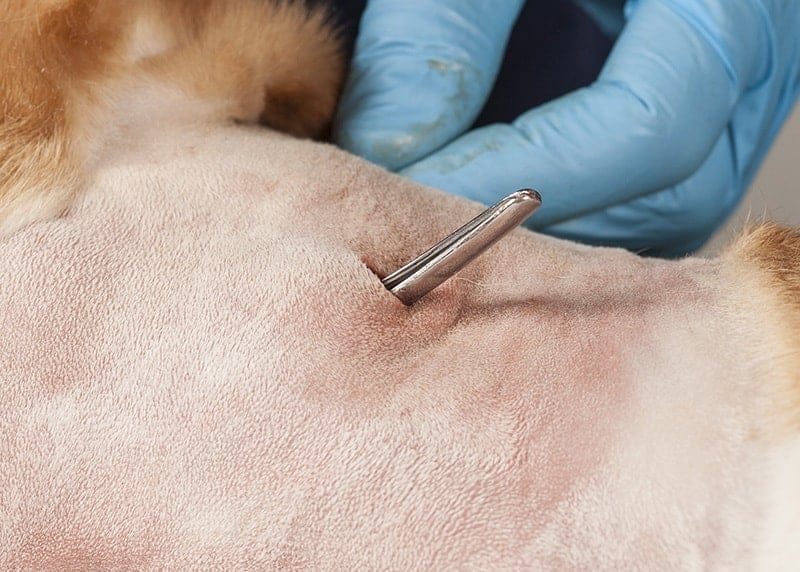
The tip of the forceps now emerges through the oesophageal wall, subcutaneous tissue and the skin.
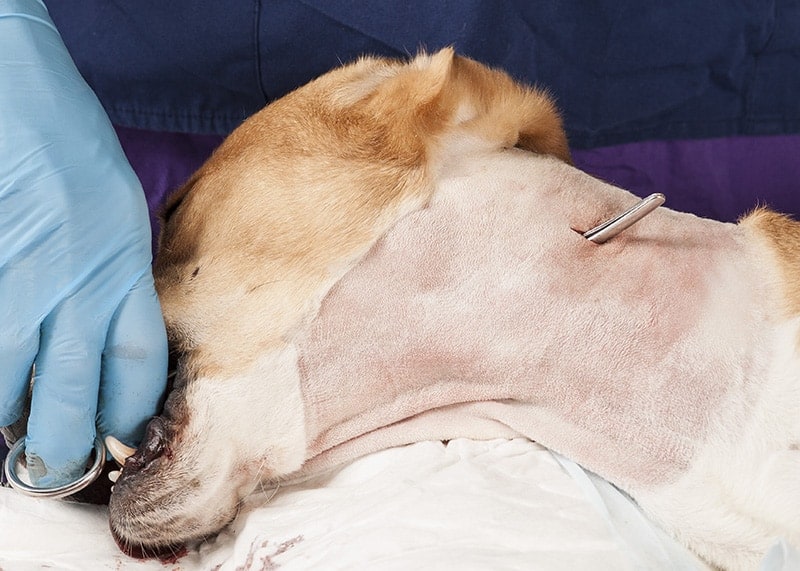
This illustrates how the surgeon is holding the forceps in one hand in the mouth and making sure that they continue to emerge securely through the stab incision.
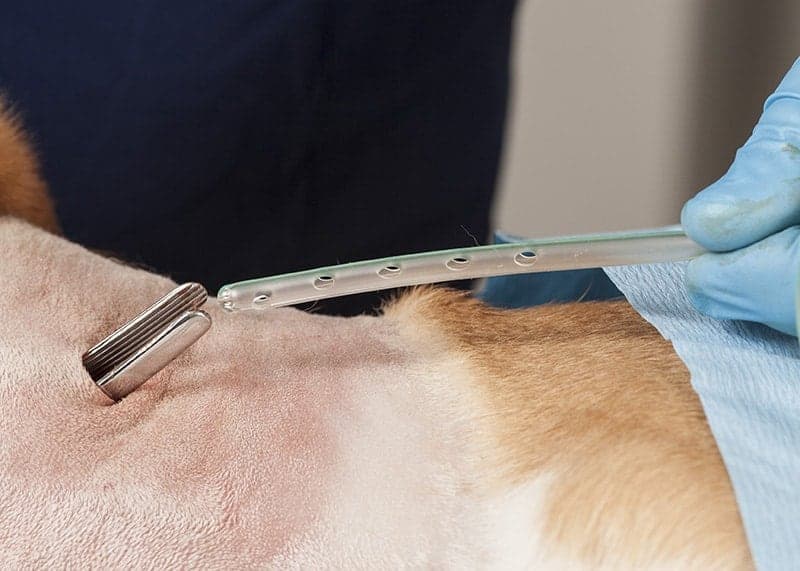
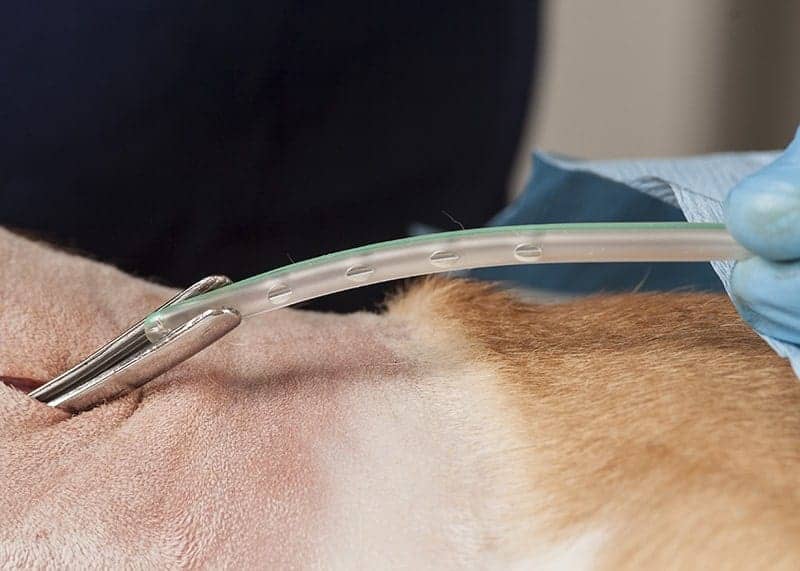
The forceps are opened and the tip of an appropriate feeding tube is grasped. One advantage of the oesophagostomy tube technique is that a relatively large diameter tube for feeding can be used, for example a 1Fr tube, as seen here. This tube also has a radio opaque marker along the side which allows post-operative radiography to check placement, and this tube also has multiple side holes which can be used either for aspiration or more convenient feeding through the tube.
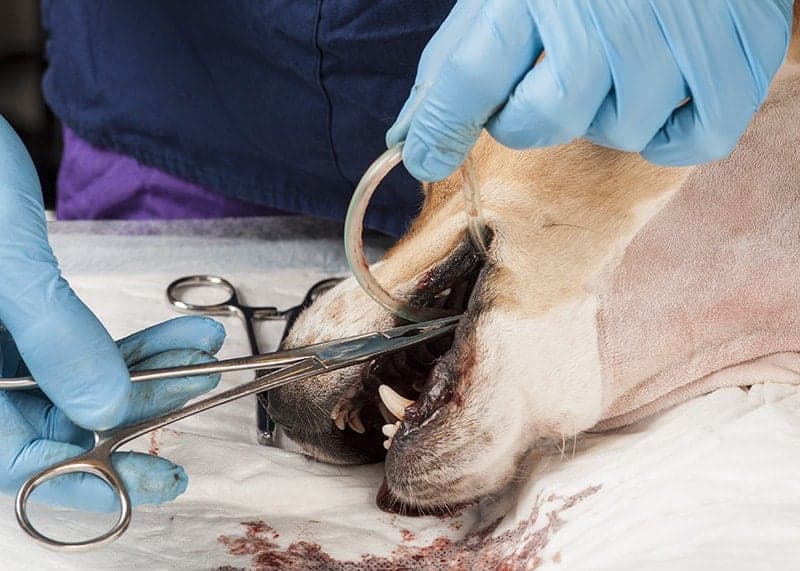
The tip of the tube is grasped firmly in the open forceps.
The forceps are now withdrawn from the mouth bringing the tube through as well.
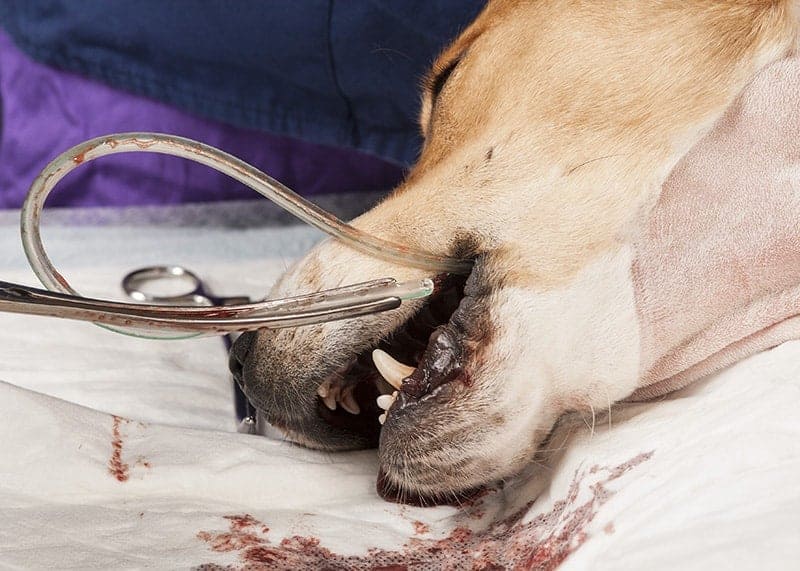
The tip of the tube has emerged from the mouth. The tube should be pulled completely through until the external connection rests against the skin of the animal. The tip of the tube is now re-grasped in the curved forceps which are then pushed back through the pharynx into the proximal oesophagus.
This is the tip of the tube being placed back through the pharynx.
The tube is pushed pass the entry site and distally into the oesophagus by holding the tube at the skin entry point. This reduces the risk of the tube being pushed out inadvertently.
The kink in the tube is reduced so that the tip is placed distally either by pushing with the surgeon’s fingers or placement of a large bore stomach tube to straighten the tube within the oesophagus.
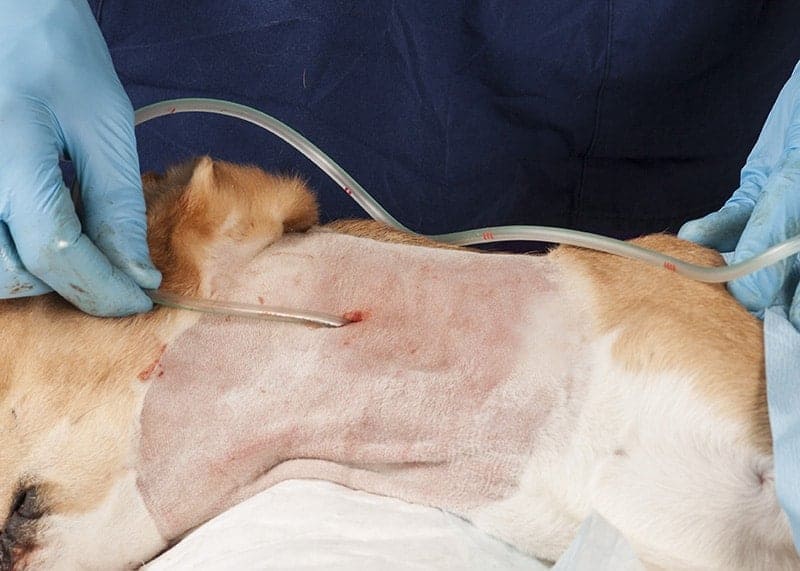
It is obvious to the clinician once the kink has been reduced and the tube is now easily advanced in a distal direction.
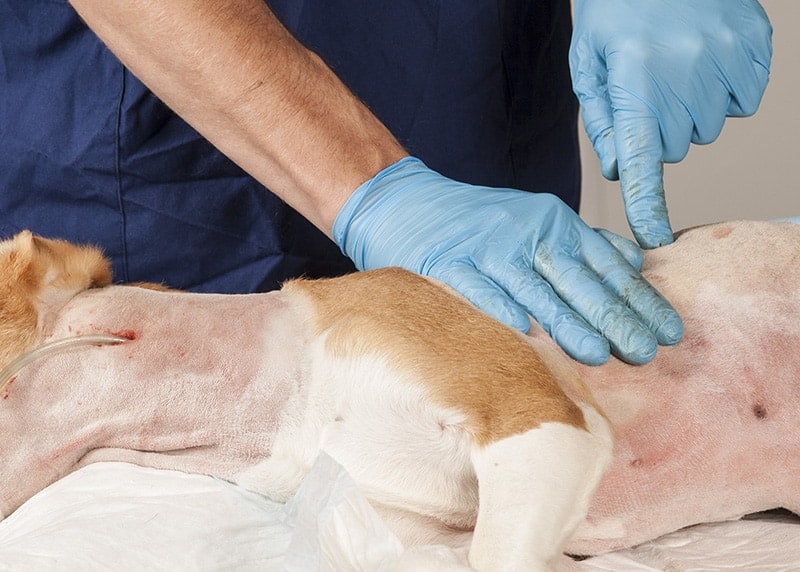
The tube is placed into the distal thoracic oesophagus in the cat, or sometimes beyond that into the stomach in the dog. The index finger of the surgeon here illustrates the typical placement around the 8th or 9th intercostal spaces. This can be checked on a post-operative radiograph.
This again illustrates that the tip of the tube is typically placed in the distal thoracic oesophagus and not across the oesophageal sphincter into the stomach.
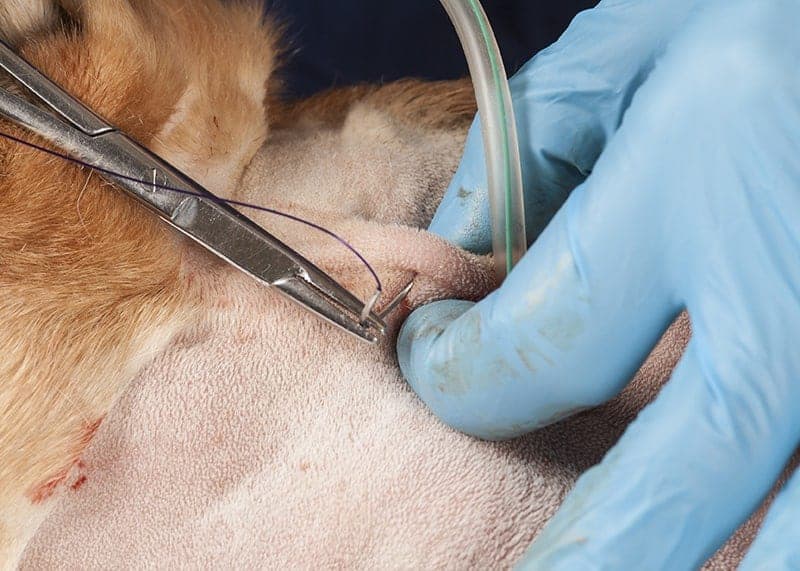
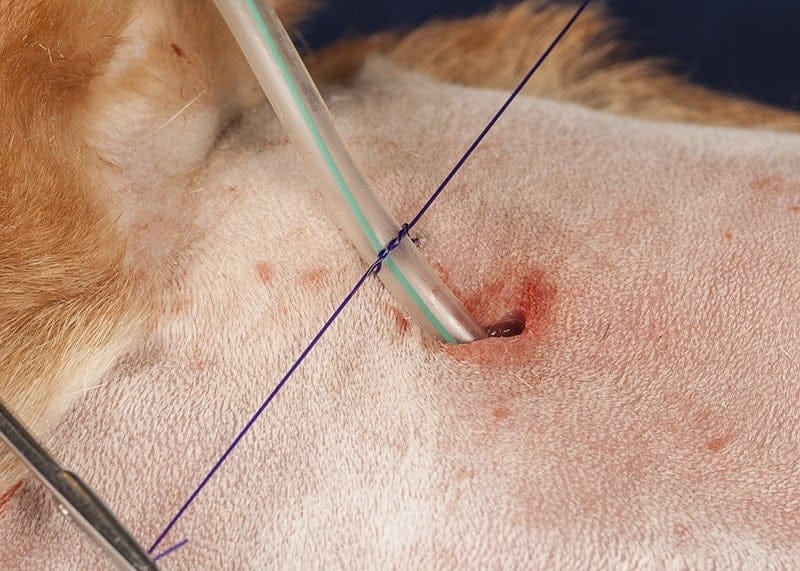
The tube is retained in place with a Roman Sandal suture. This is placed through the skin.
This suture is then tied against the skin but without crushing the skin.
This illustrates the placement within the skin.
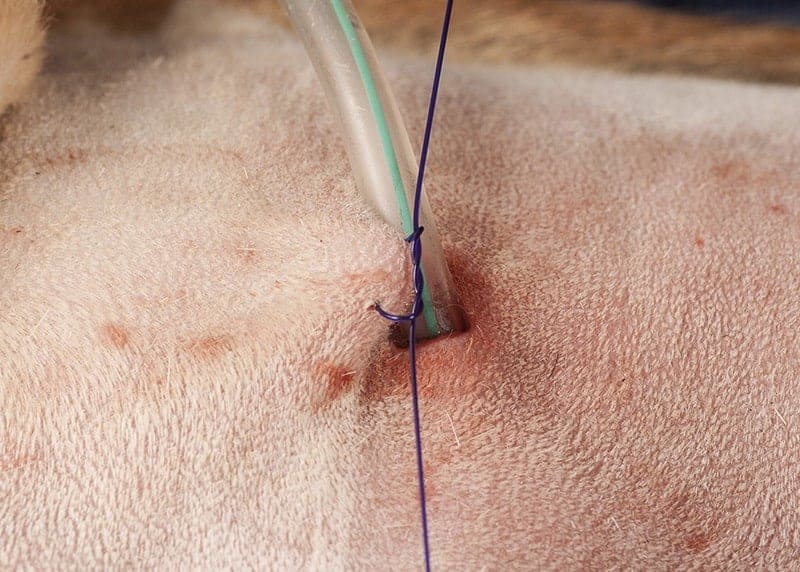
The Roman Sandal suture is then placed around the tube and a double throw placed.
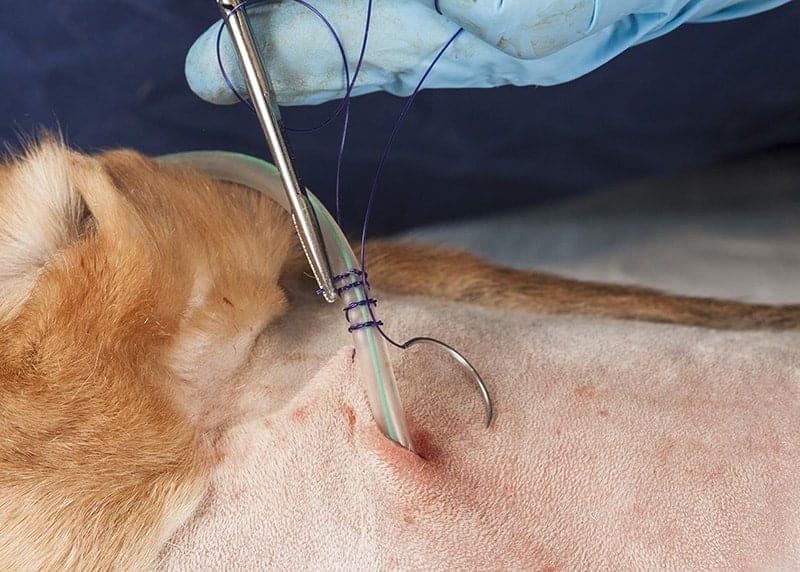
The Roman Sandal suture then wraps four times around the tube, crossing on the back each time and with a double throw on the front each time and then is finally tied.
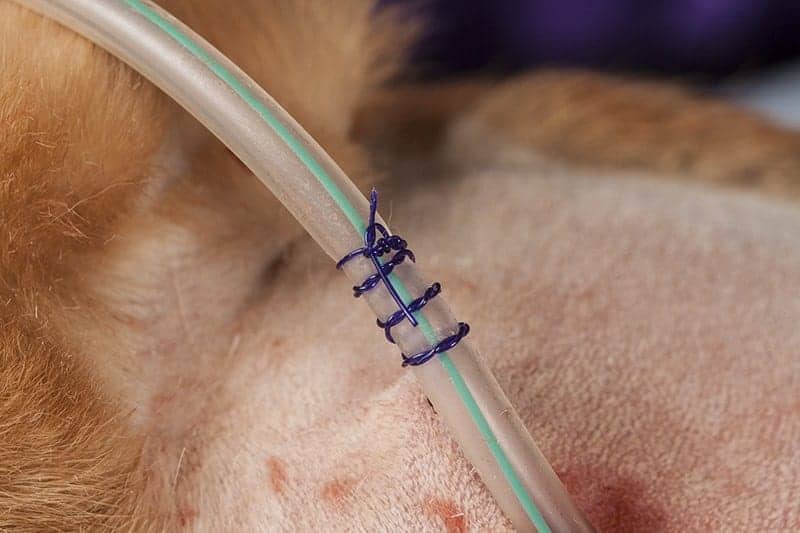
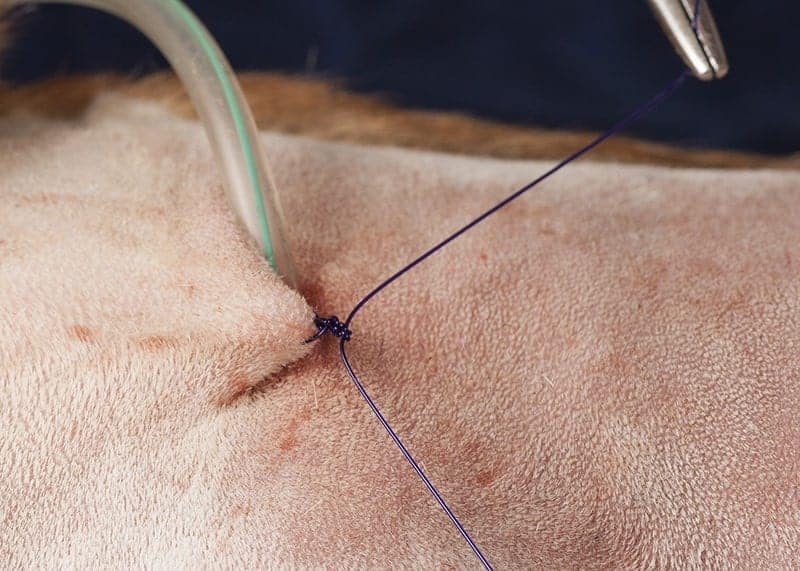
This is the completed Roman Sandal Suture.
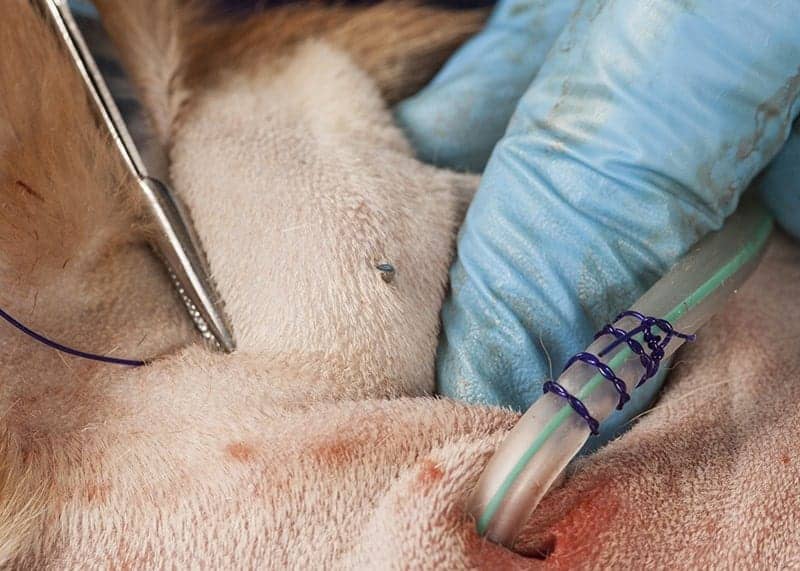
It is also useful to place a second securing suture, in this case through the fascia, adjacent to the wing of the atlas vertebra.

This is tied in a similar fashion. This second suture through the fascia is a more stable fixation and reduces the risk of the tube inadvertently being pulled out.
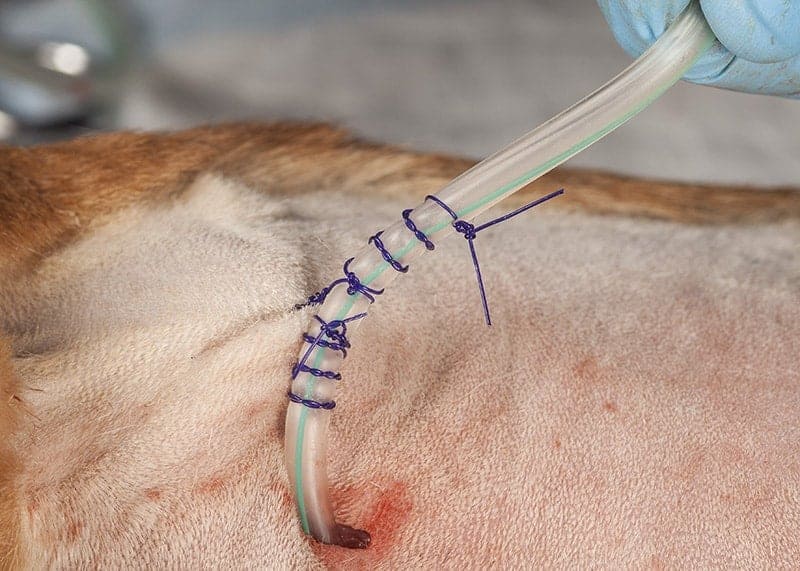
This illustrates how these Roman Sandal sutures effectively secure this tube to stop slipping through the knot, without kinking the tube.
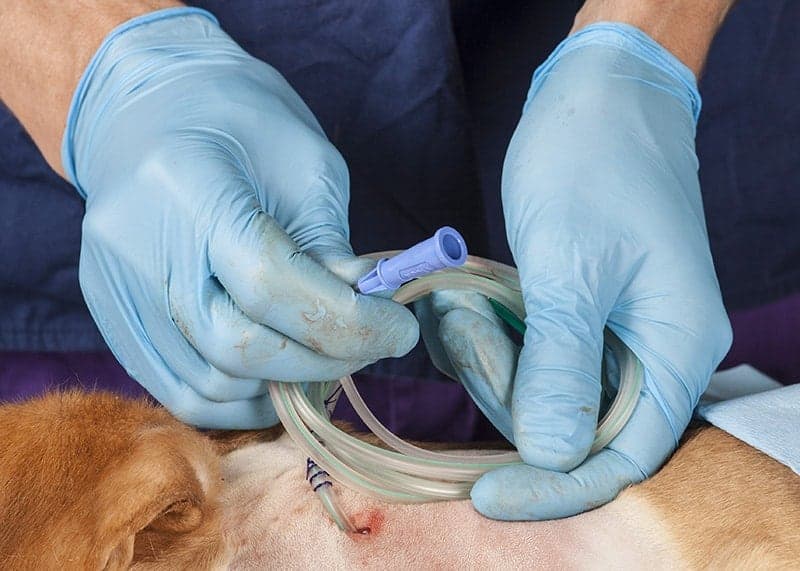
The end of this tube has a large bore connection suitable for fitting to a feeding tip or catheter tip syringe.
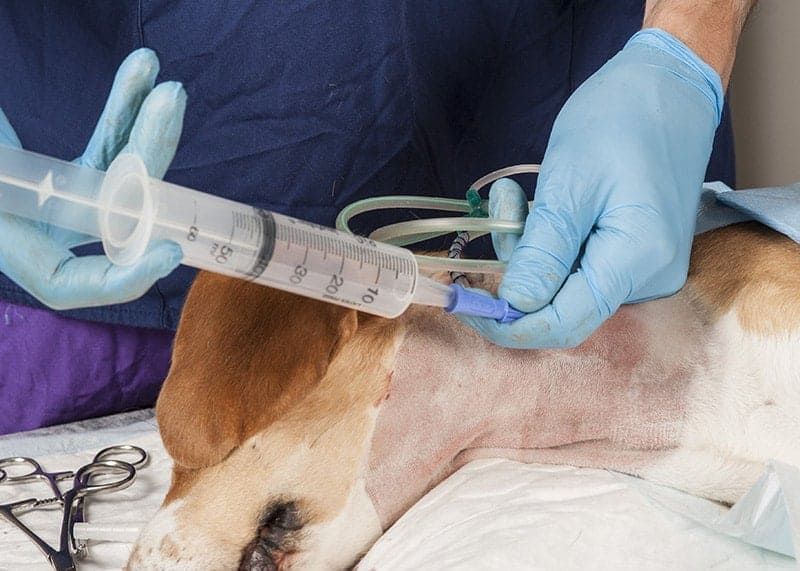
This is a catheter tip syringe used with this feeding tube. It is very convenient to feed reasonable volumes of a liquefied diet.


