Free 3-5 day delivery
on all orders
Animals may require sedation or occasionally anaesthesia for nasogastric tube placement depending on their clinical status. Either nostril can be used.
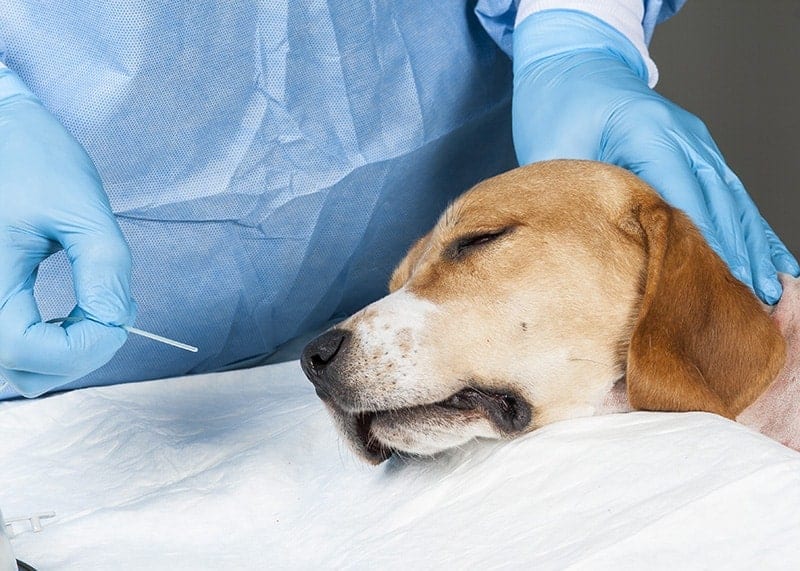
Prior to placement of the tube an ophthalmic local anaesthetic solution is placed into the nostril to reduce sensation

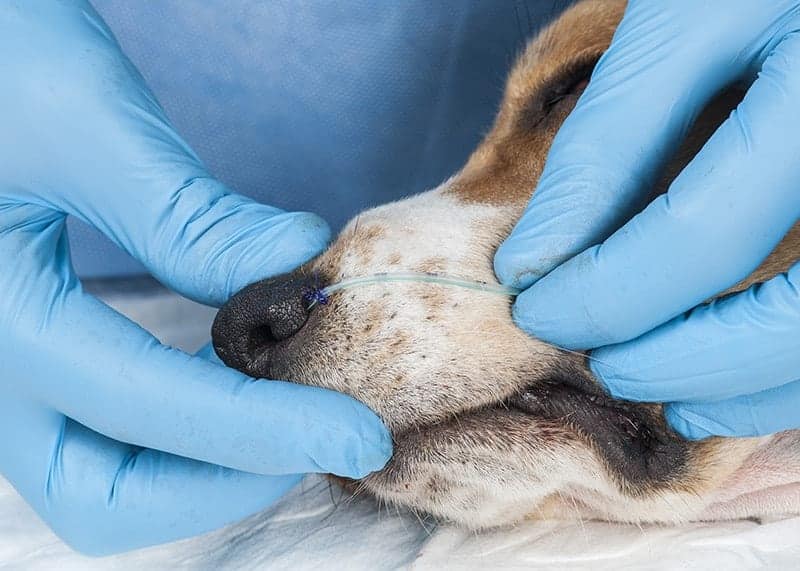
Particularly in the dog it is helpful to push the rhinarium dorsally to straighten the opening into the nostril.
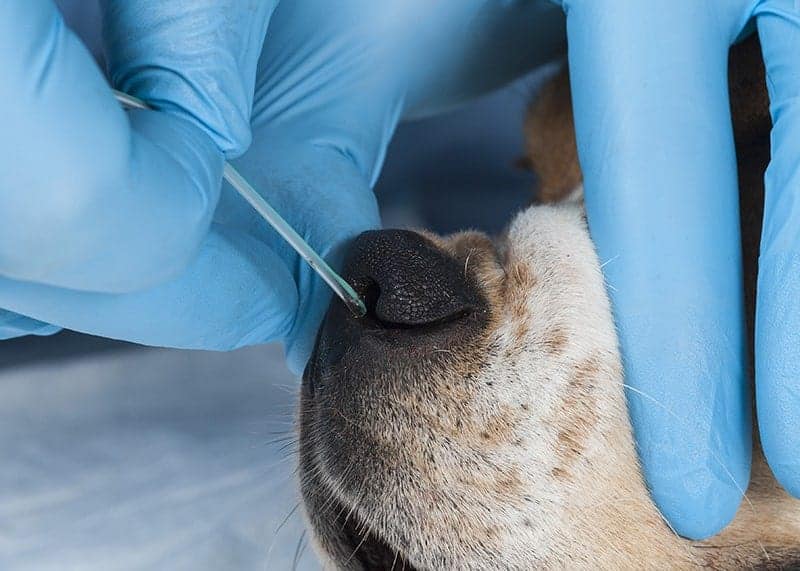
The tip of the tube is lubricated and placed in a ventral and medial fashion so that it enters the ventral miatus of the nasal chambers.
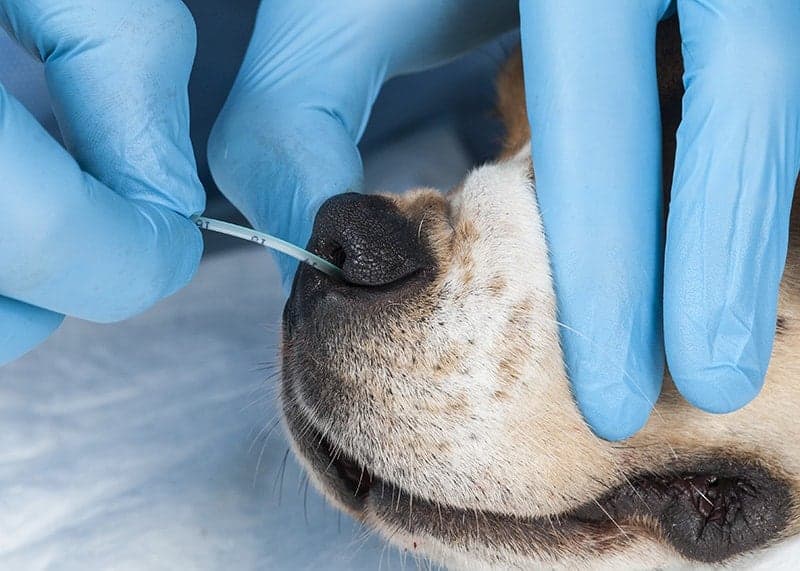
Once placement has started, the clinician should advance the tube with confidence, however there should be no resistance to the passage through the nose. If there is any resistance it suggests the tube has not entered the vental miatus and it should be withdrawn and replaced. As the tube passes through the nose and the nasal pharynx and into the pharynx the animal’s normal swallowing action should allow it to pass readily into the oesophagus.

This feeding tube conveniently has centimetre marks on it, illustrating the distance from the tip of the tube to the nose, allowing the clinician to assess the depth of placement. Typically the tip of the tube is intended to remain in the distal thoracic oesophagus. This tube also has a radio opaque line marker on it which can be used to confirm placement radiographically.
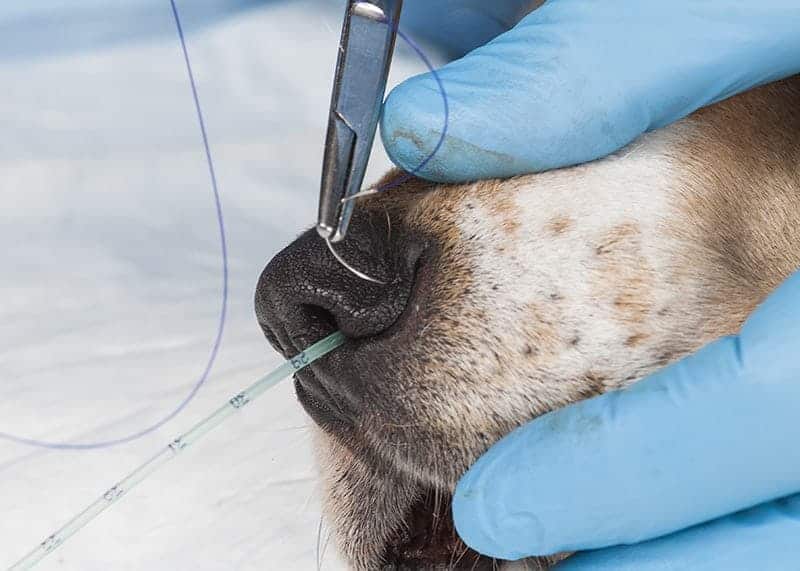
It is important that the tube is secured to the nostril. One way of doing this is with a suture. Many animals will allow placement of this suture without undue resentment, particularly if the clinician avoids the use of rat tooth forceps and uses a cutting needle with a swaged on suture which can pass through the tissues with minimal resistance.
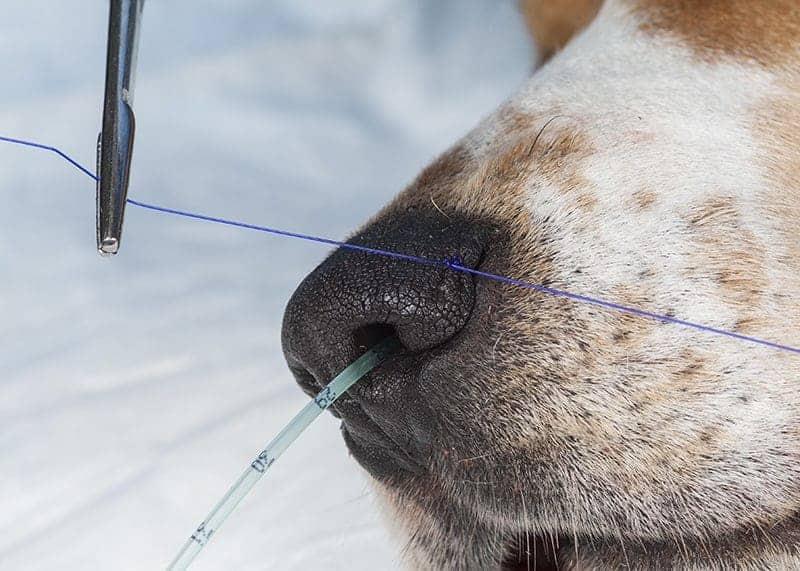
A bite of the alar fold is taken with the suture and the suture is loosely tied in the alar tissue.
The suture is then wrapped around the tube in the fashion of a Roman Sandal suture to secure the tube against the skin and then the tube is folded into the lateral aspect of the nostril.
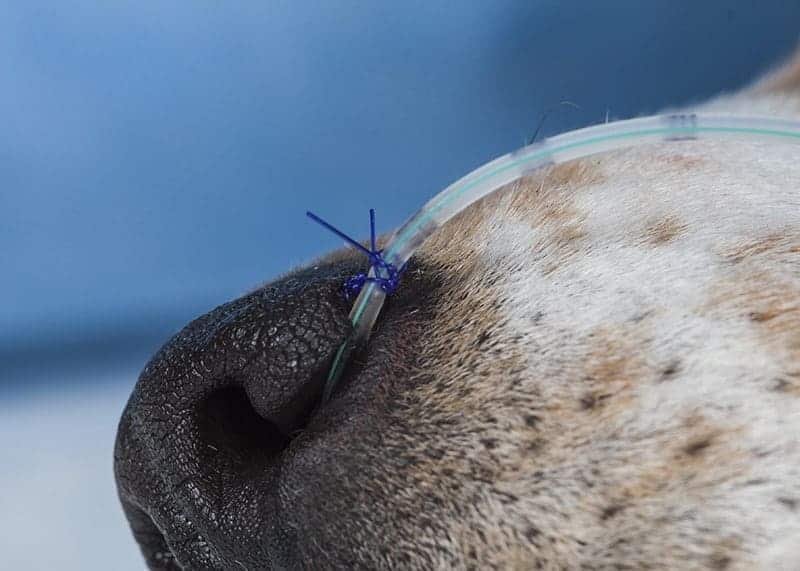
This illustrates how the tube is neatly folded back into the lateral aspect of the nostril where it is least likely to be displaced by the patient.
It may be useful to add a drop of cyanoacrylate glue to secure the suture to the tube to prevent the tube sliding within the suture.
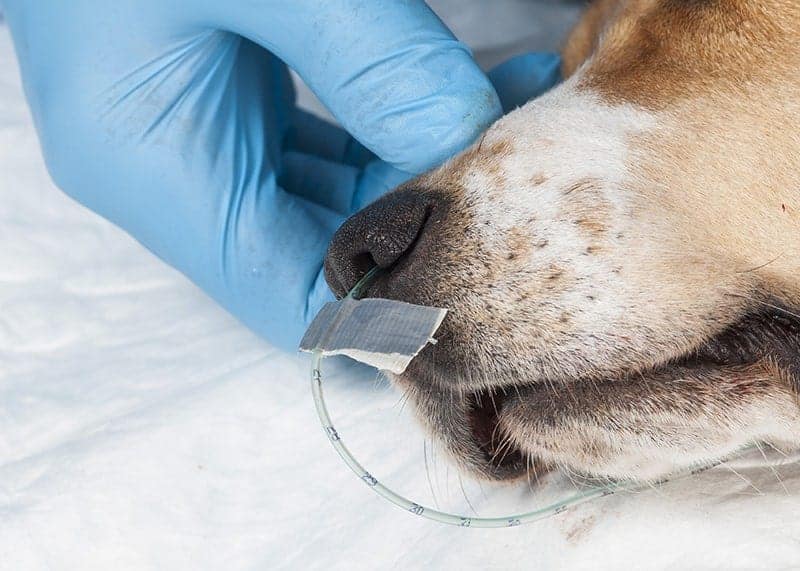
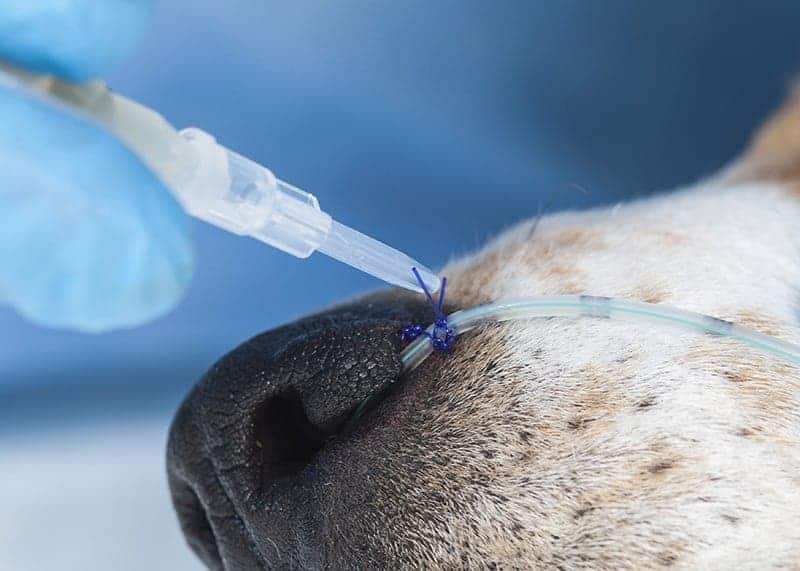
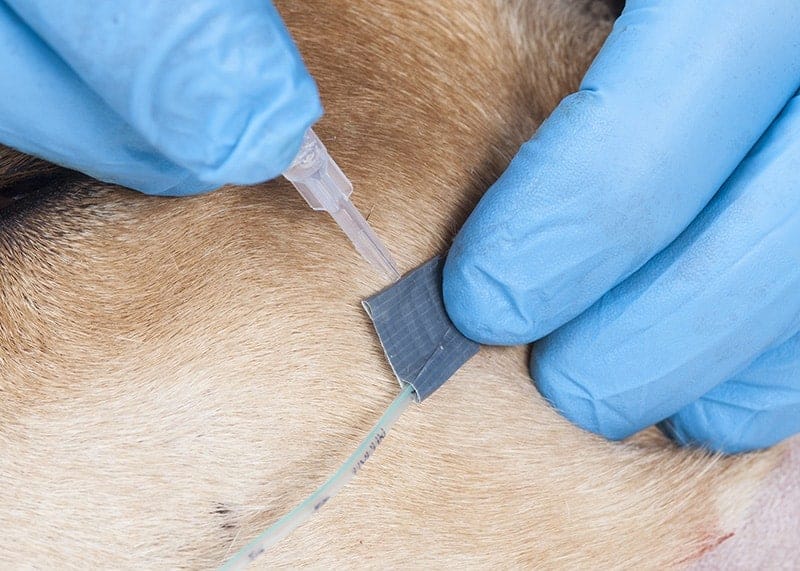
An alternative to suturing the tube in place is to use cyanoacrylate glue alone. Firstly a butterfly of adhesive tape is placed around the Nasogastric Feeding Tube at the correct position.
The tube is then folded back and the butterfly suture is secured using cyanoacrylate glue to the patient’s skin. If it is a particularly hairy patient some clipping may be required.
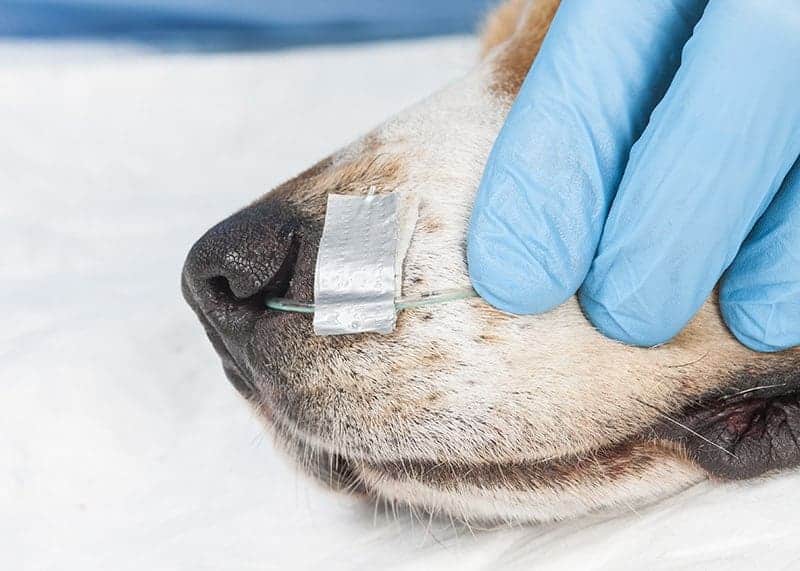
Note there is minimal tube emerging between the nostril and the first point of securing. If a loop is left there is a risk that the tube will become displaced.
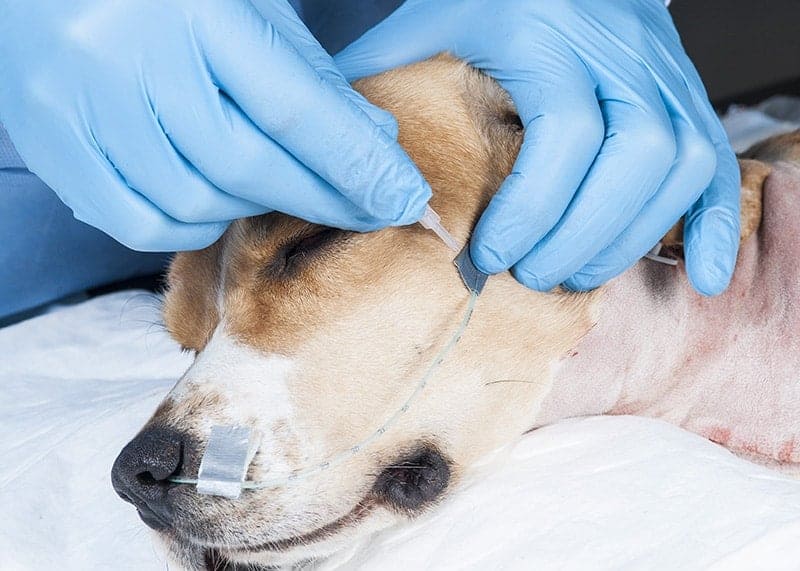
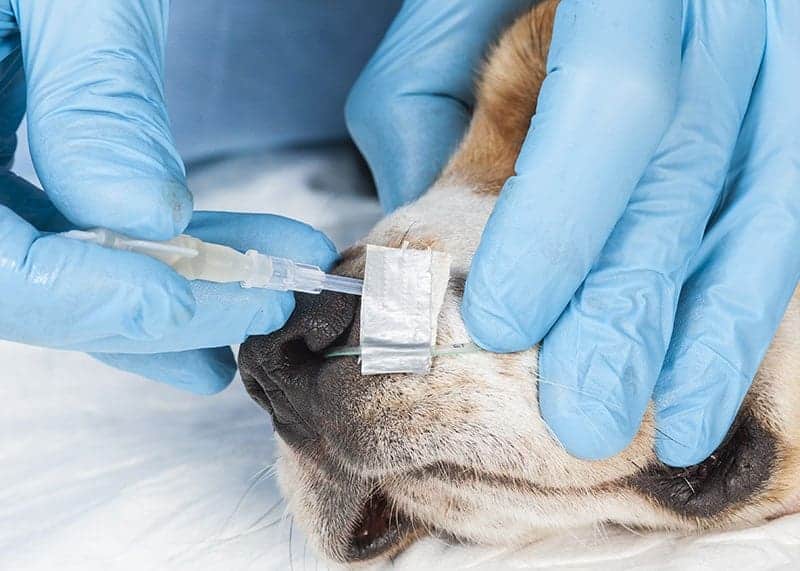
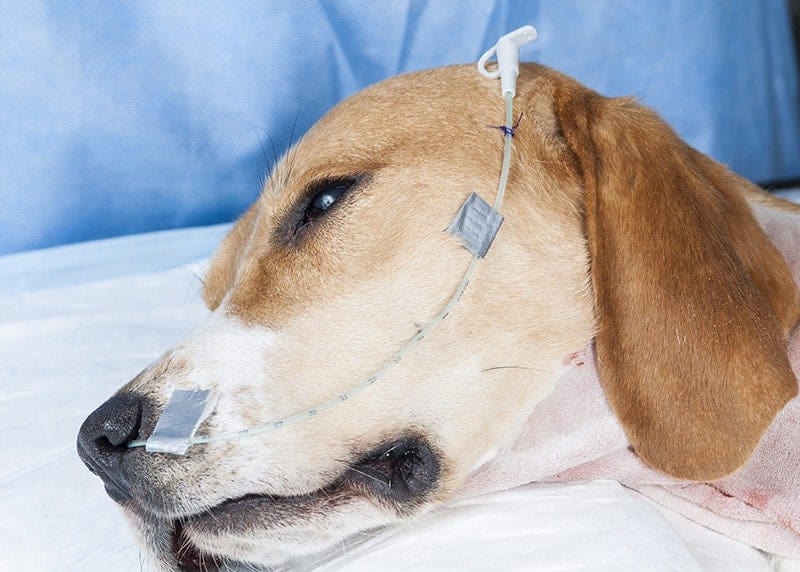
A second point of attachment is on the lateral aspect of the face. Again a piece of adhesive tape and cyanoacrylate glue is used for this purpose. In cats it is more often that the tube is placed over the bridge of the nose and secured between the eyes on the top of the face.
This illustrates placement of cyanoacrylate glue between the adhesive tape and the skin. If this patient’s face had a thicker coat it would need clipping before the placement of the glue.
An alternative or additional security can be provided with a Roman Sandal suture.


